
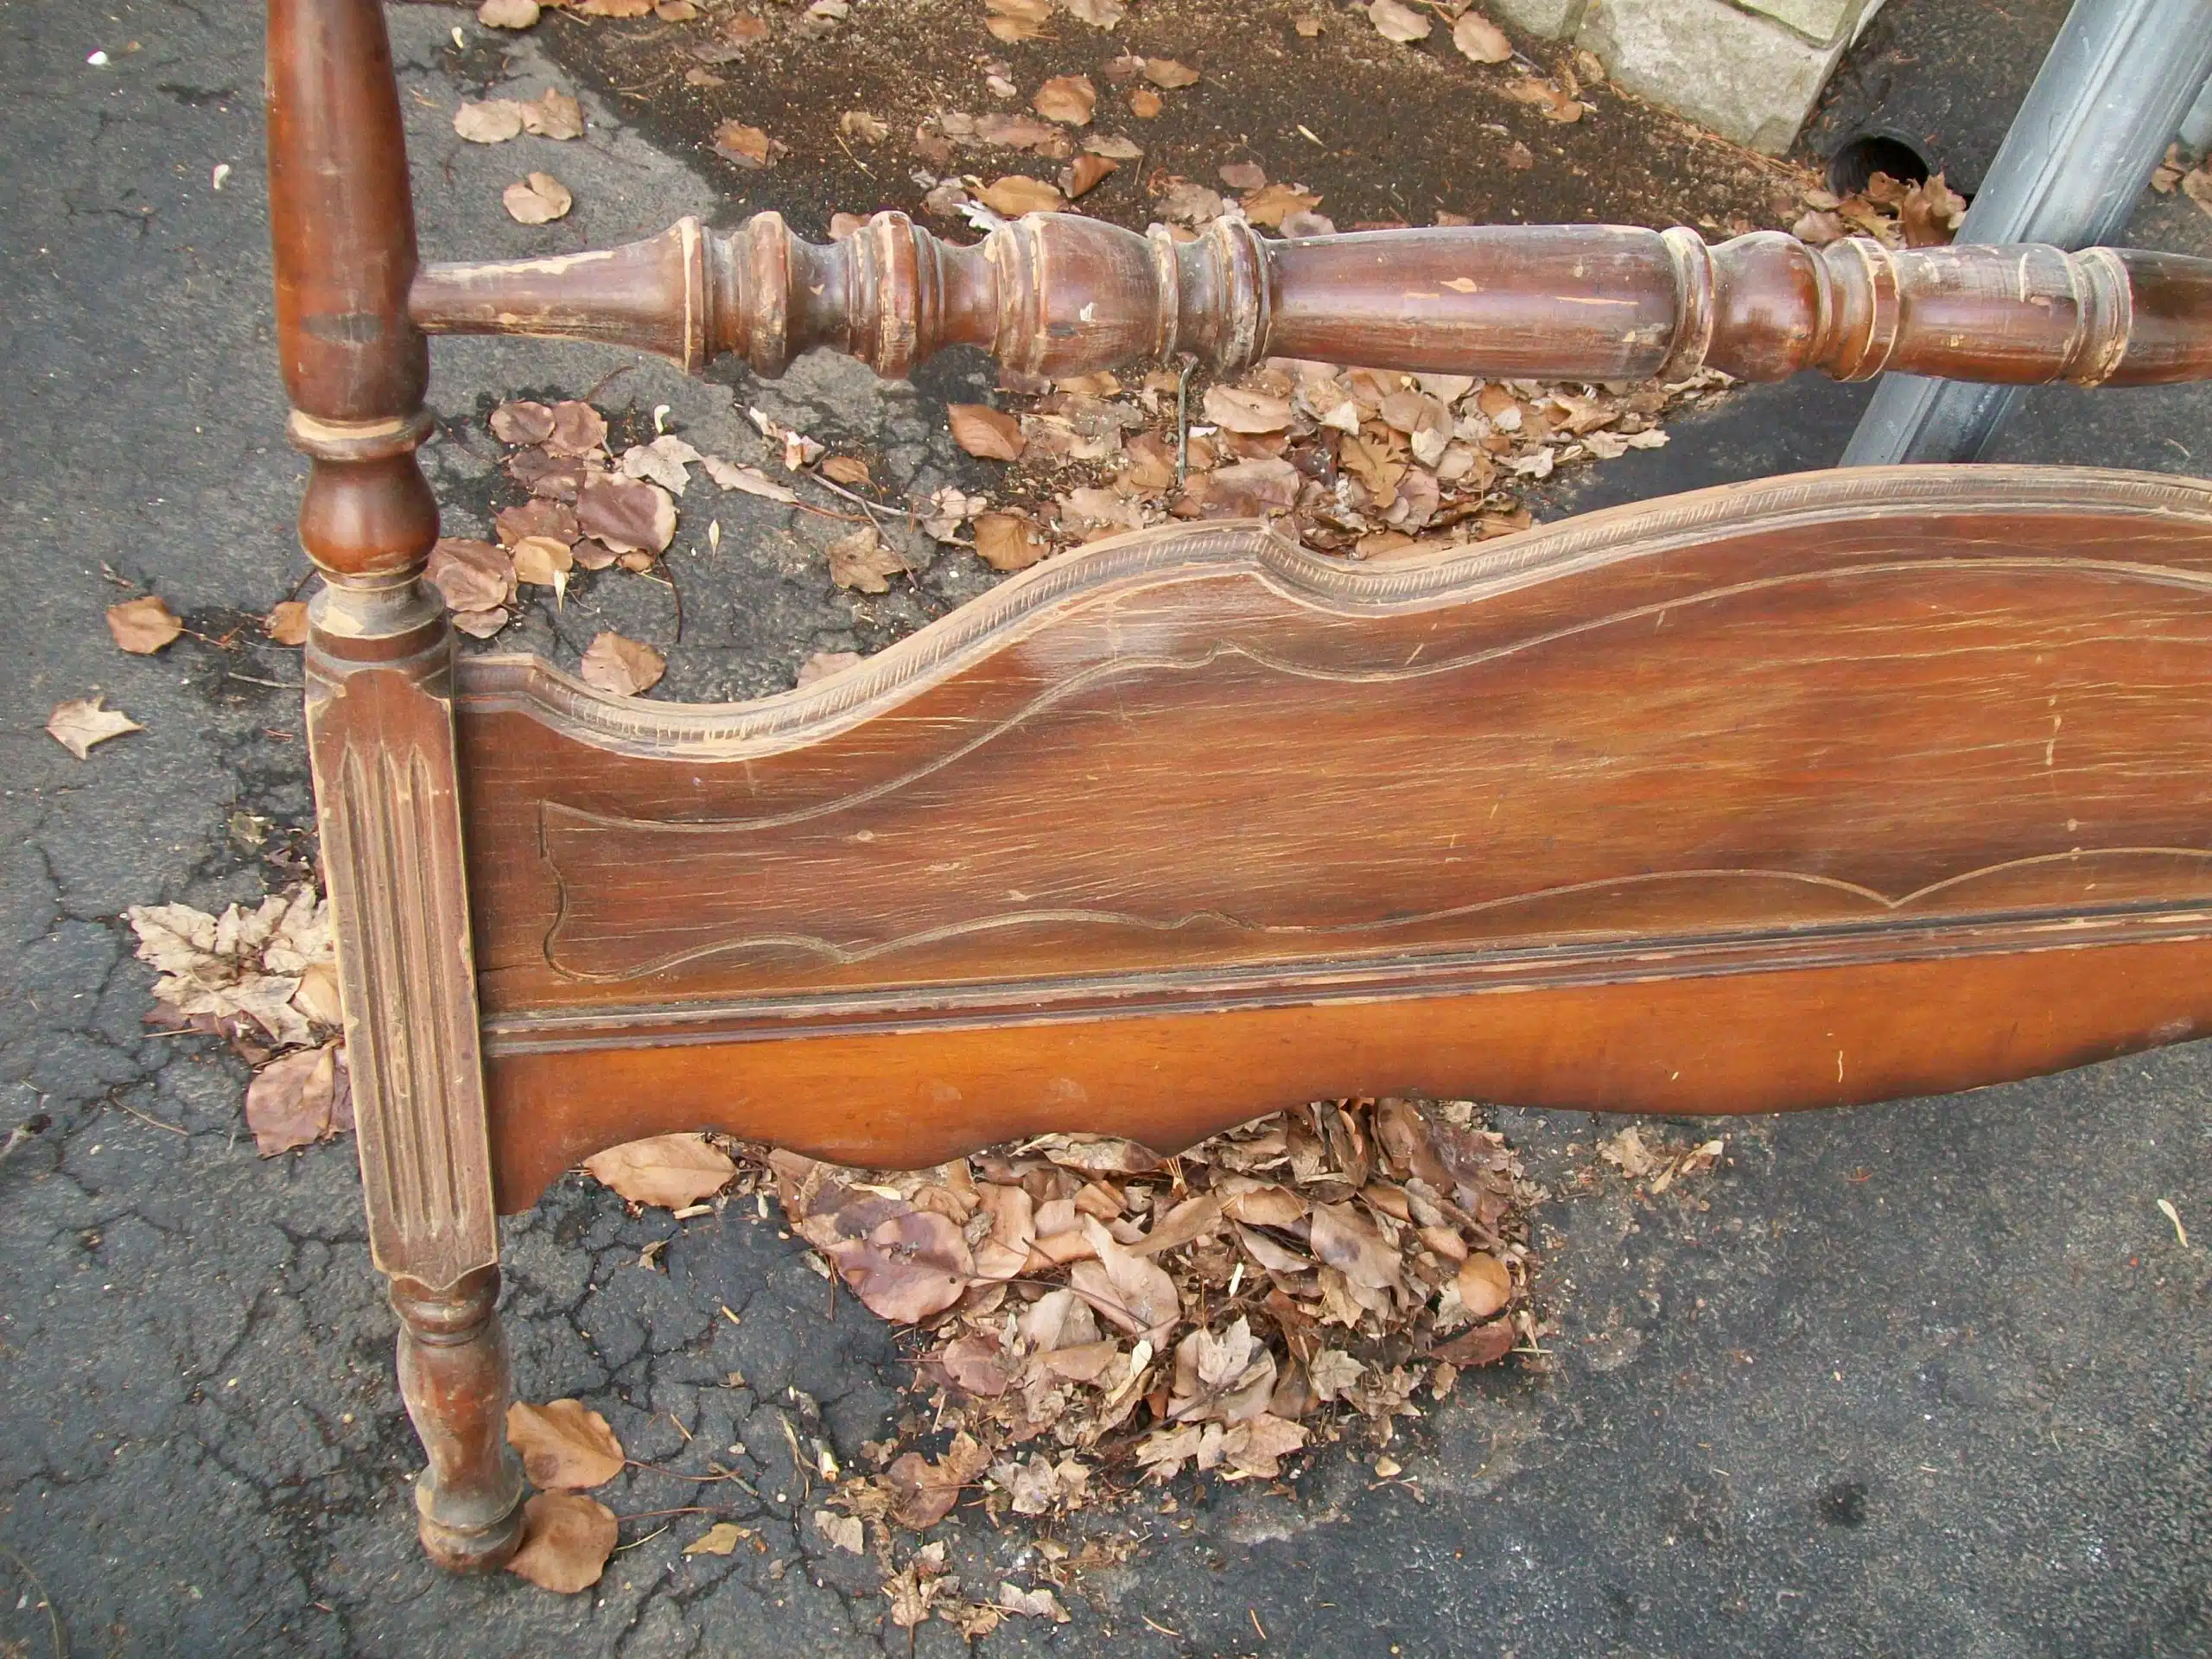
Do you have a headboard with bad veneer? My nephew Jimmy dropped this off for me to repair and paint.
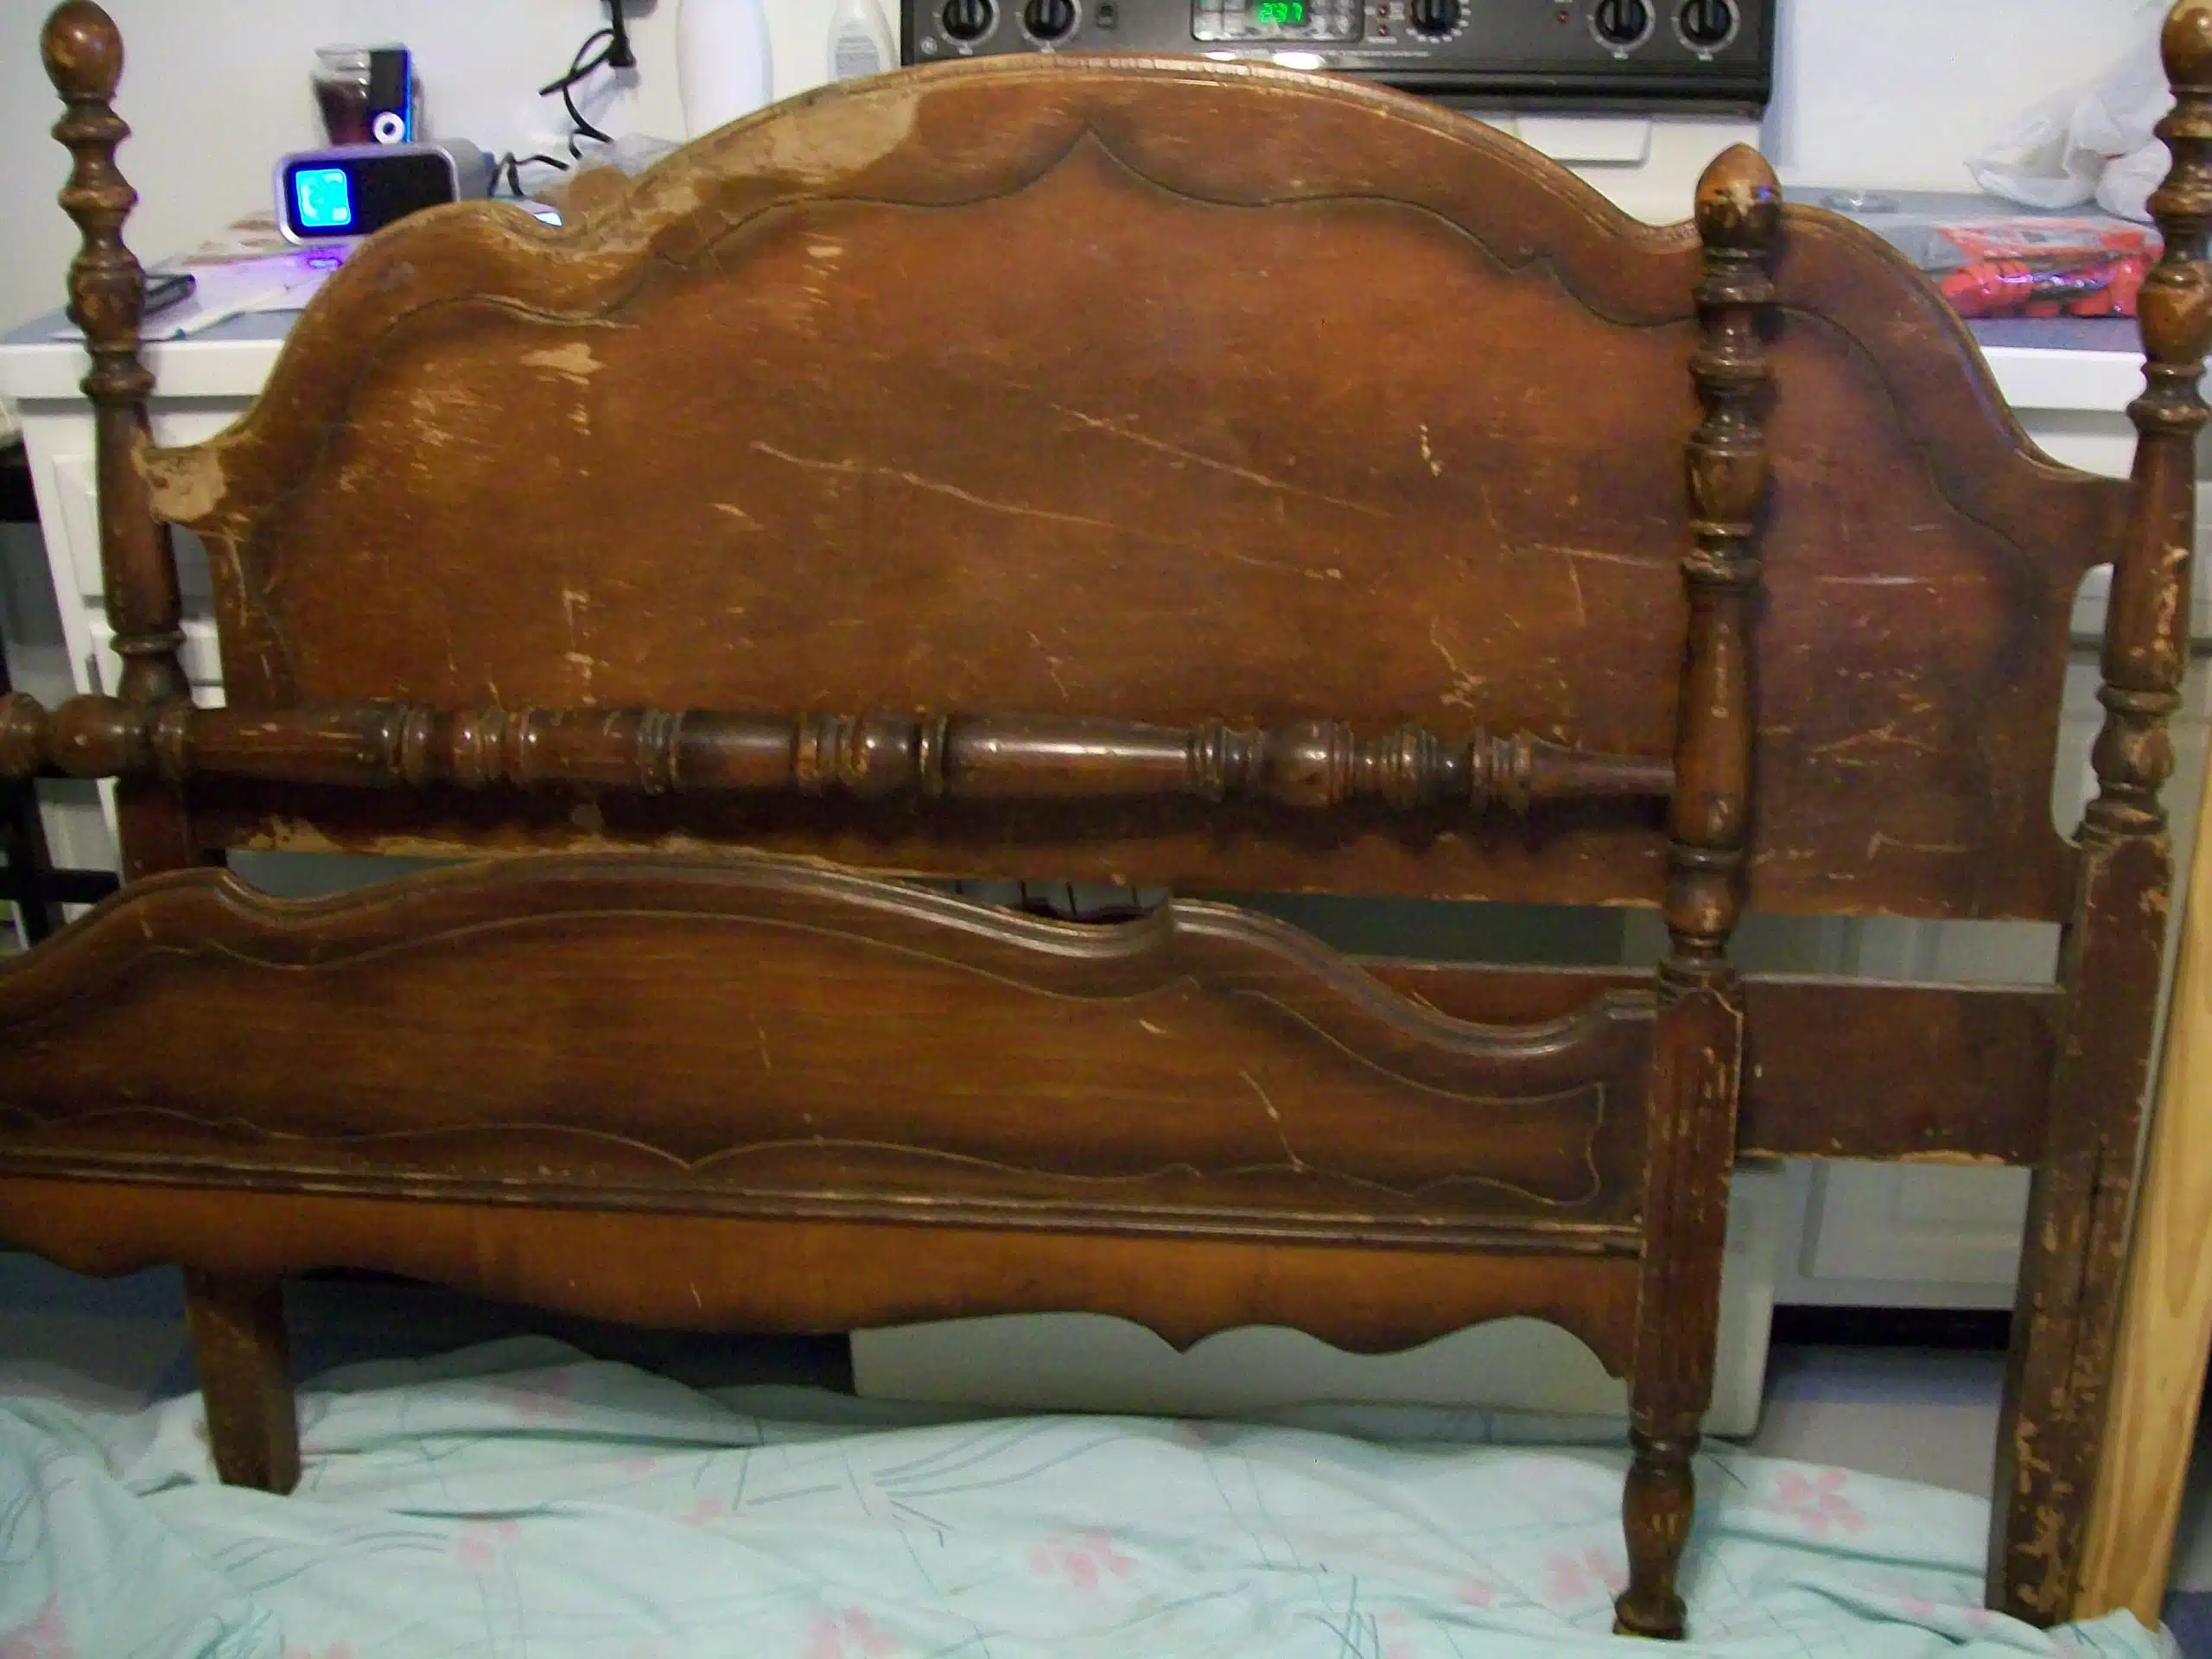
Isn't it a beautiful bed?
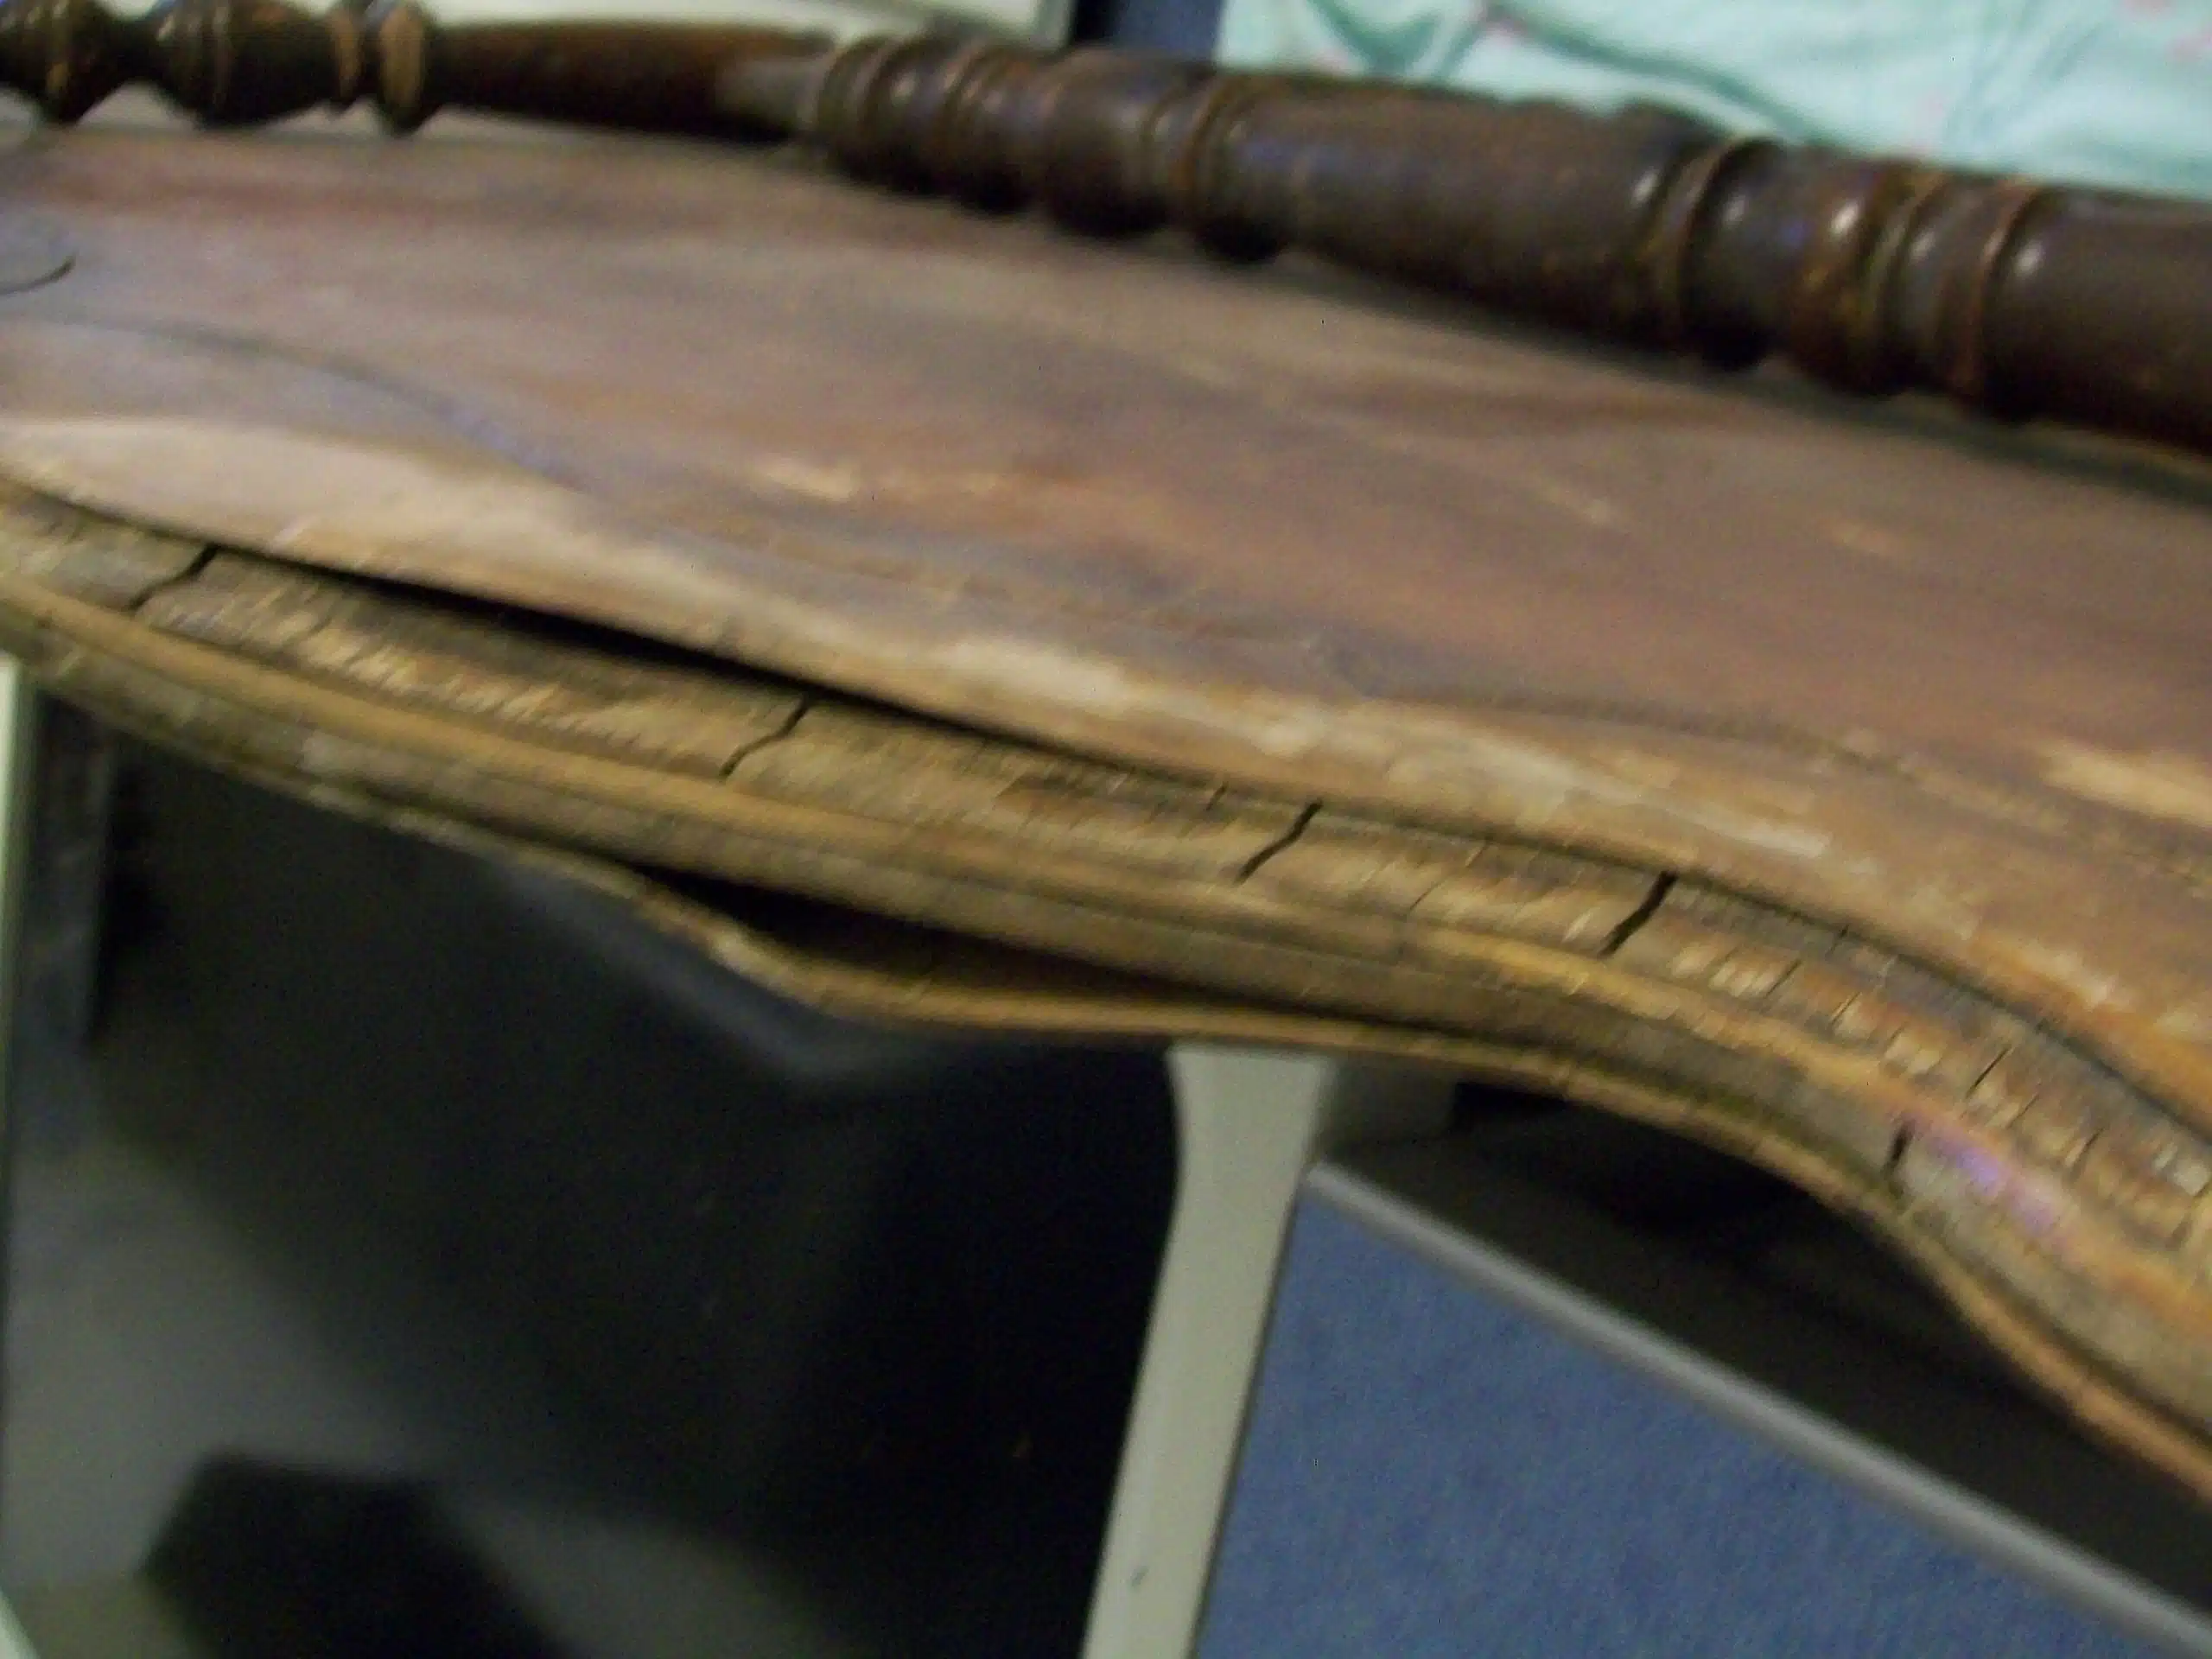
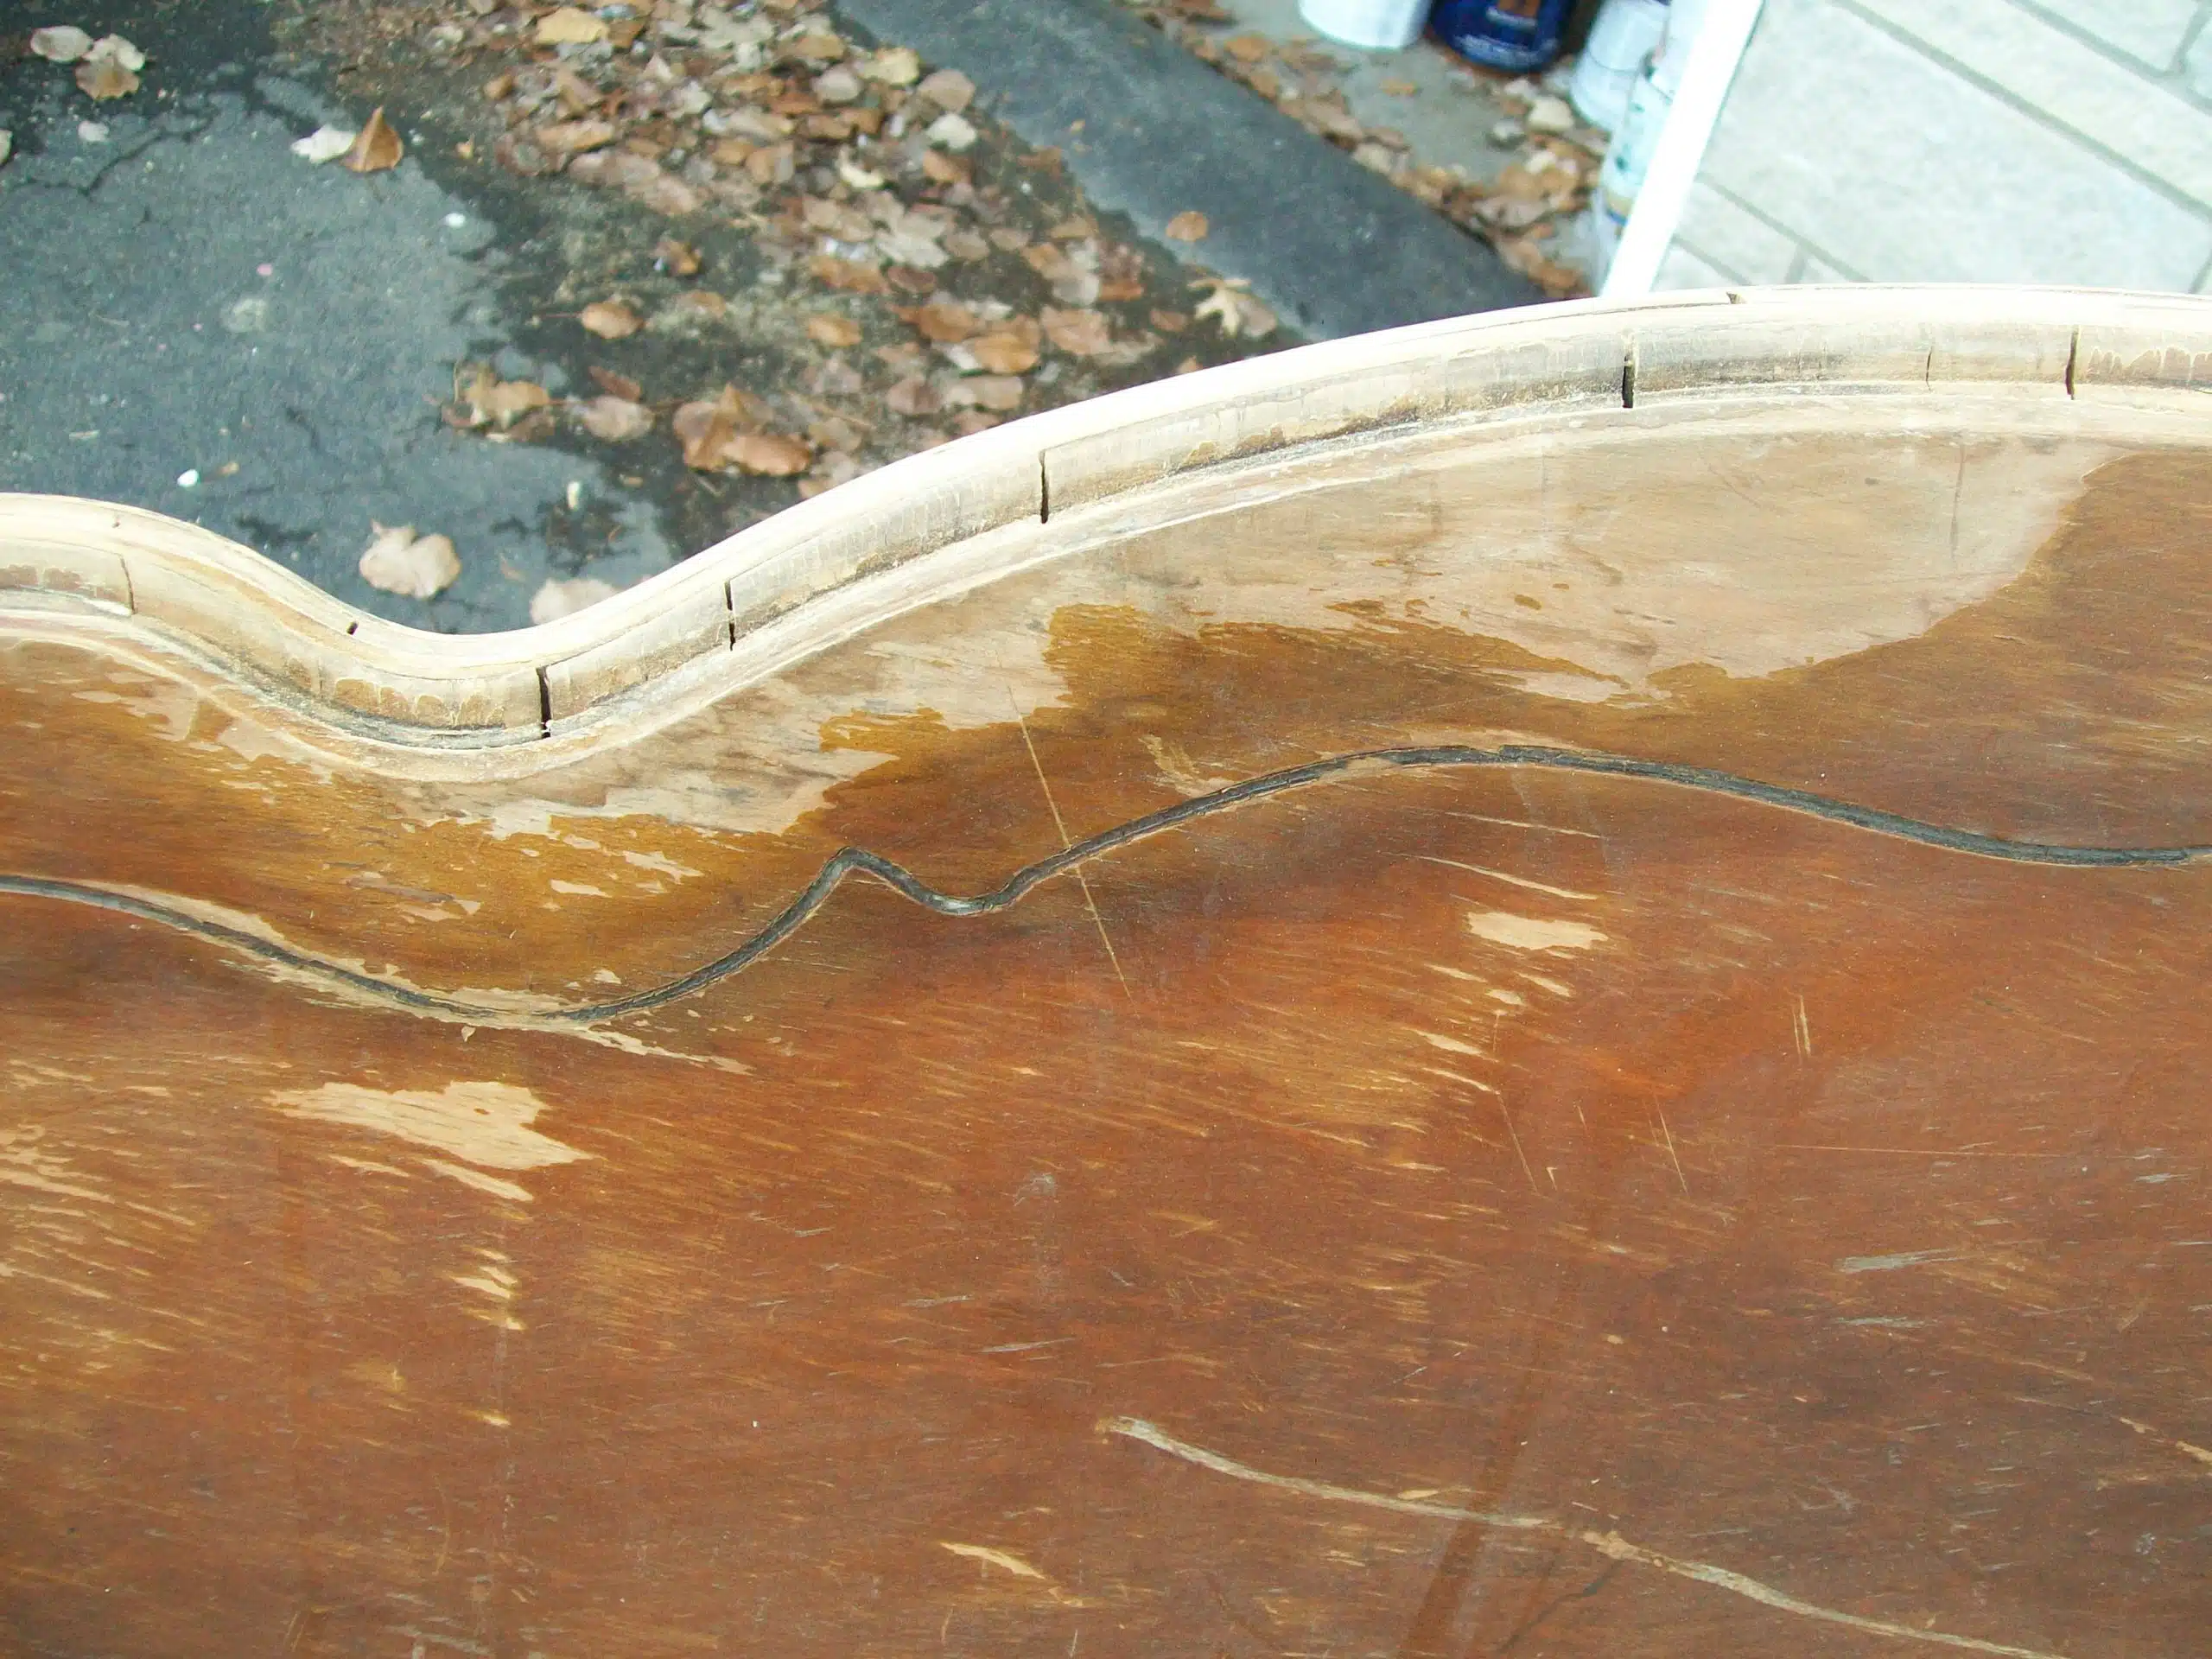
Excuse the blurry picture. It’s the only picture I have that shows how bad the veneer was warped.
Related content:
You can patch wood after removing veneer
How to Repair Veneer
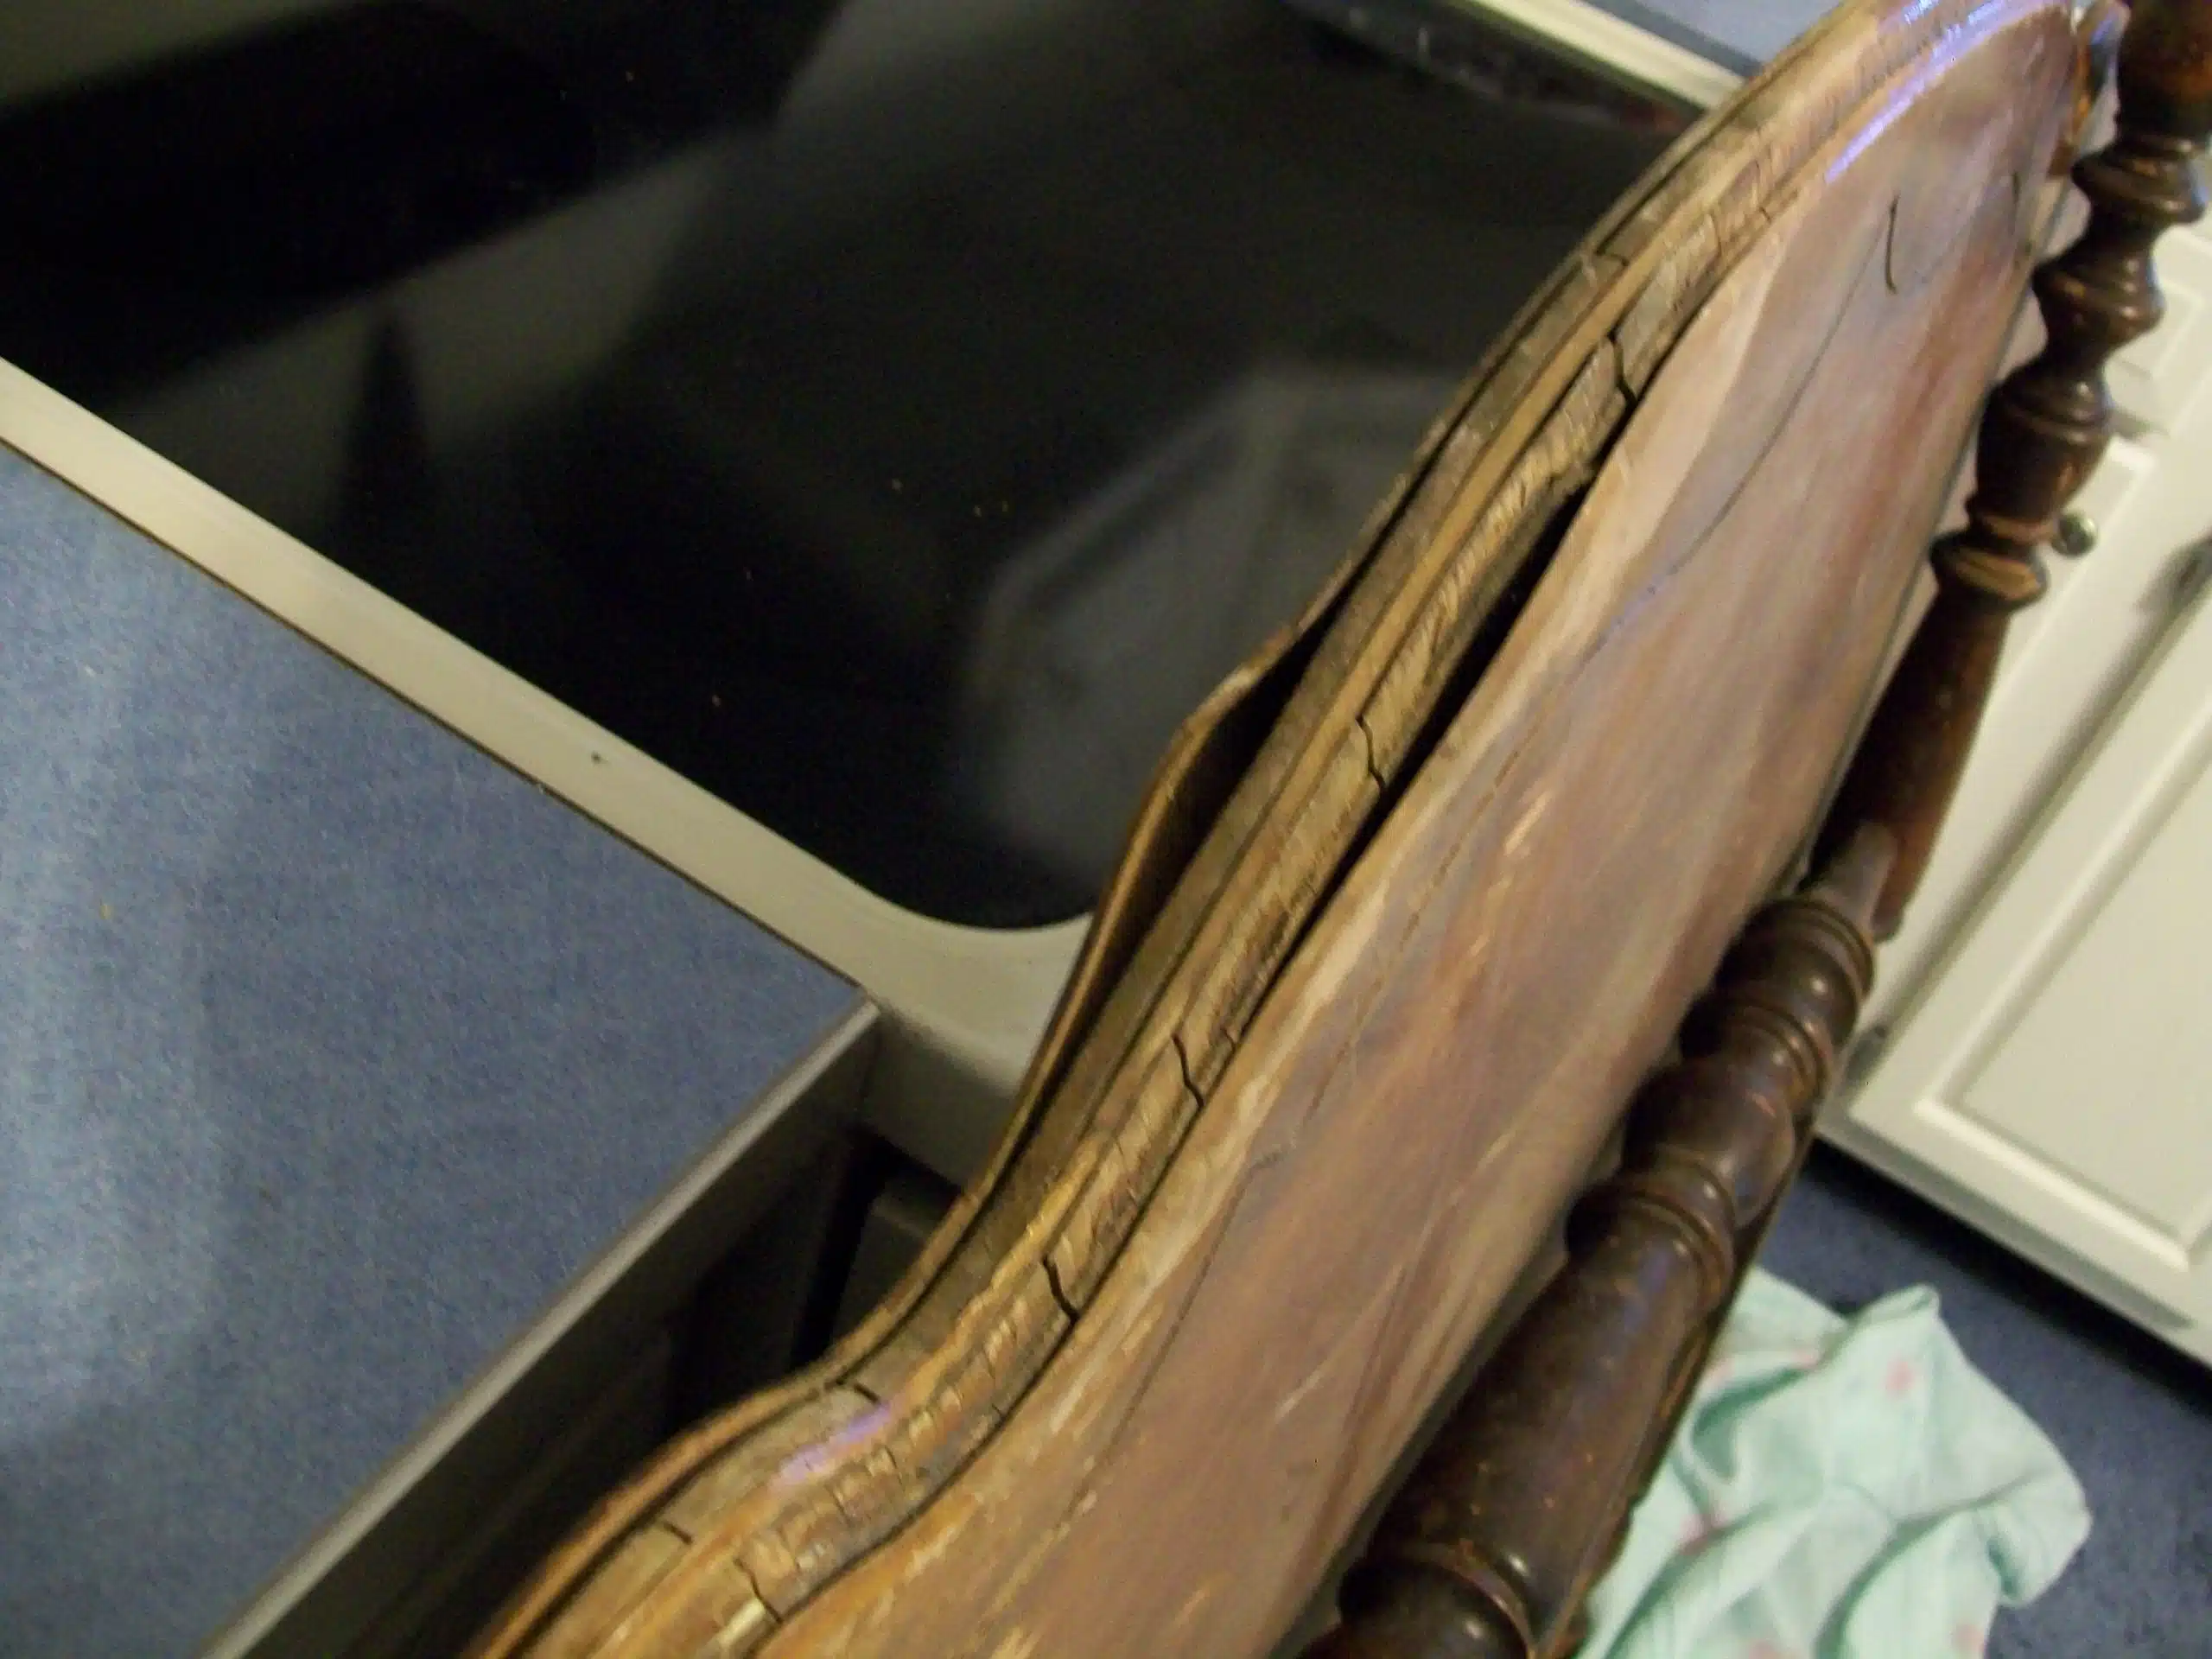
The veneer was pulling away from the front and the back of this headboard.
Visit the My Repurposed Life Amazon Store to shop my favorite items.
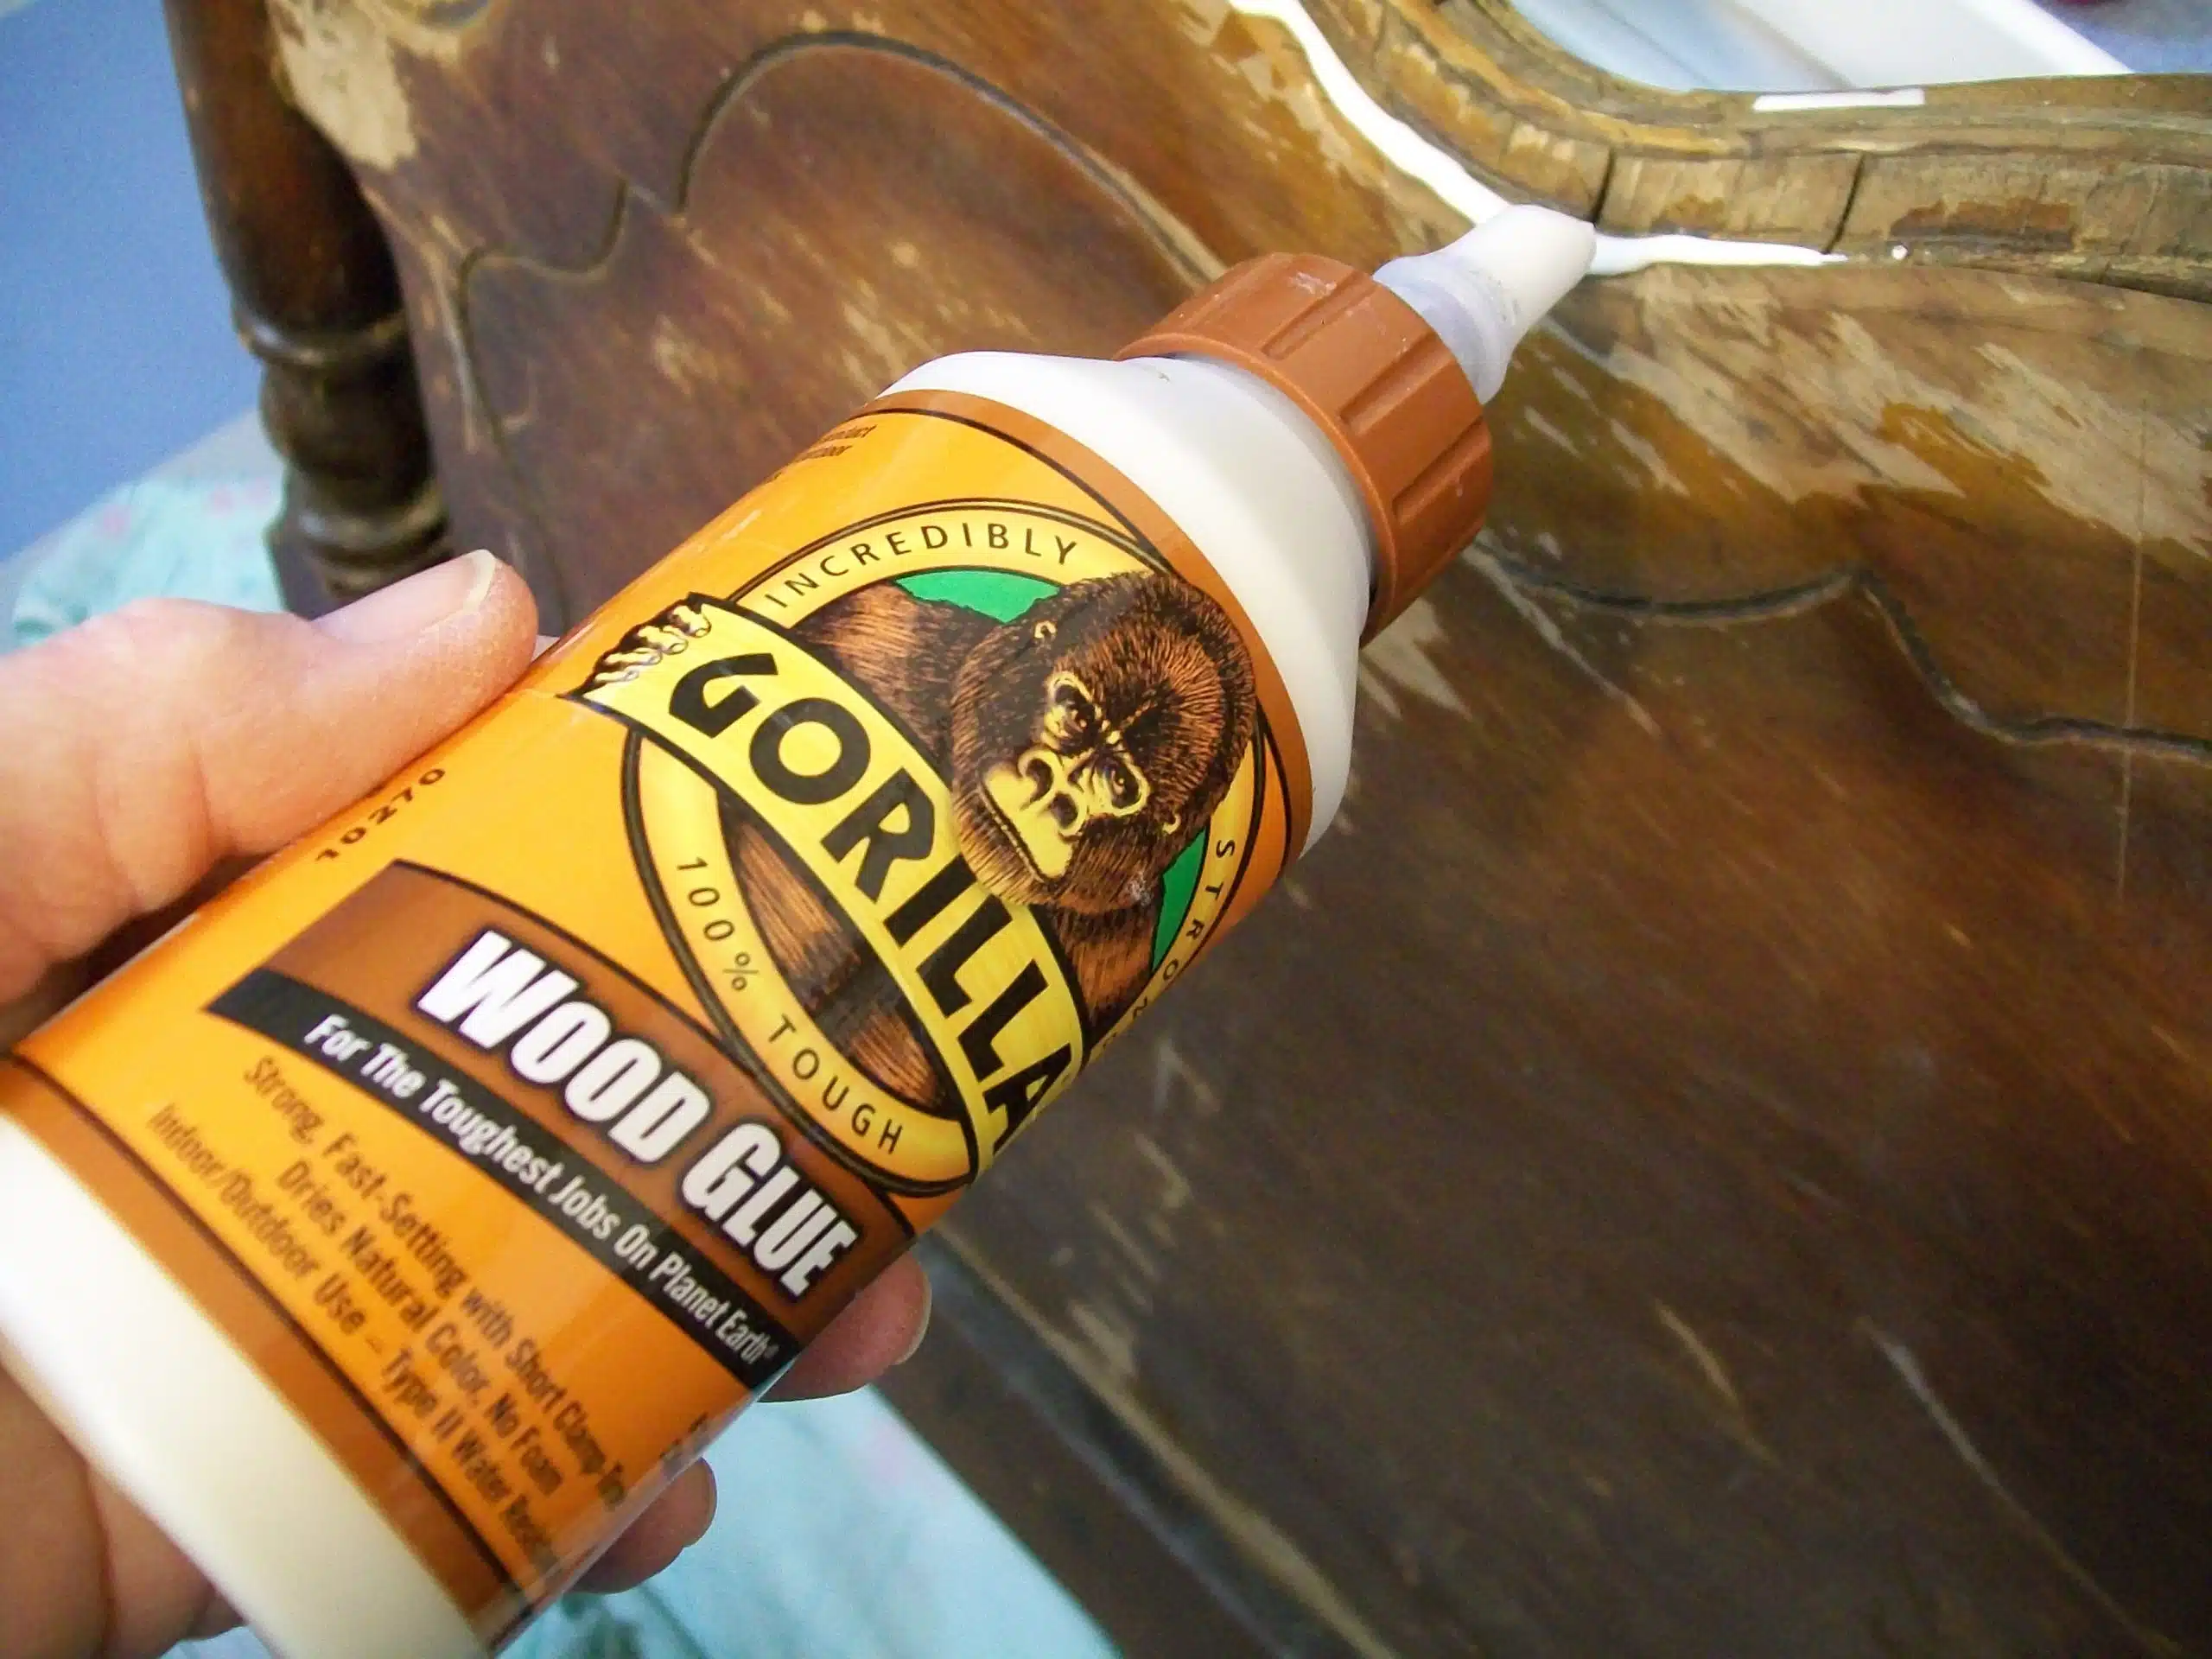
If you want a good hold when you repair a headboard, I recommend the ever popular Gorilla Wood Glue .
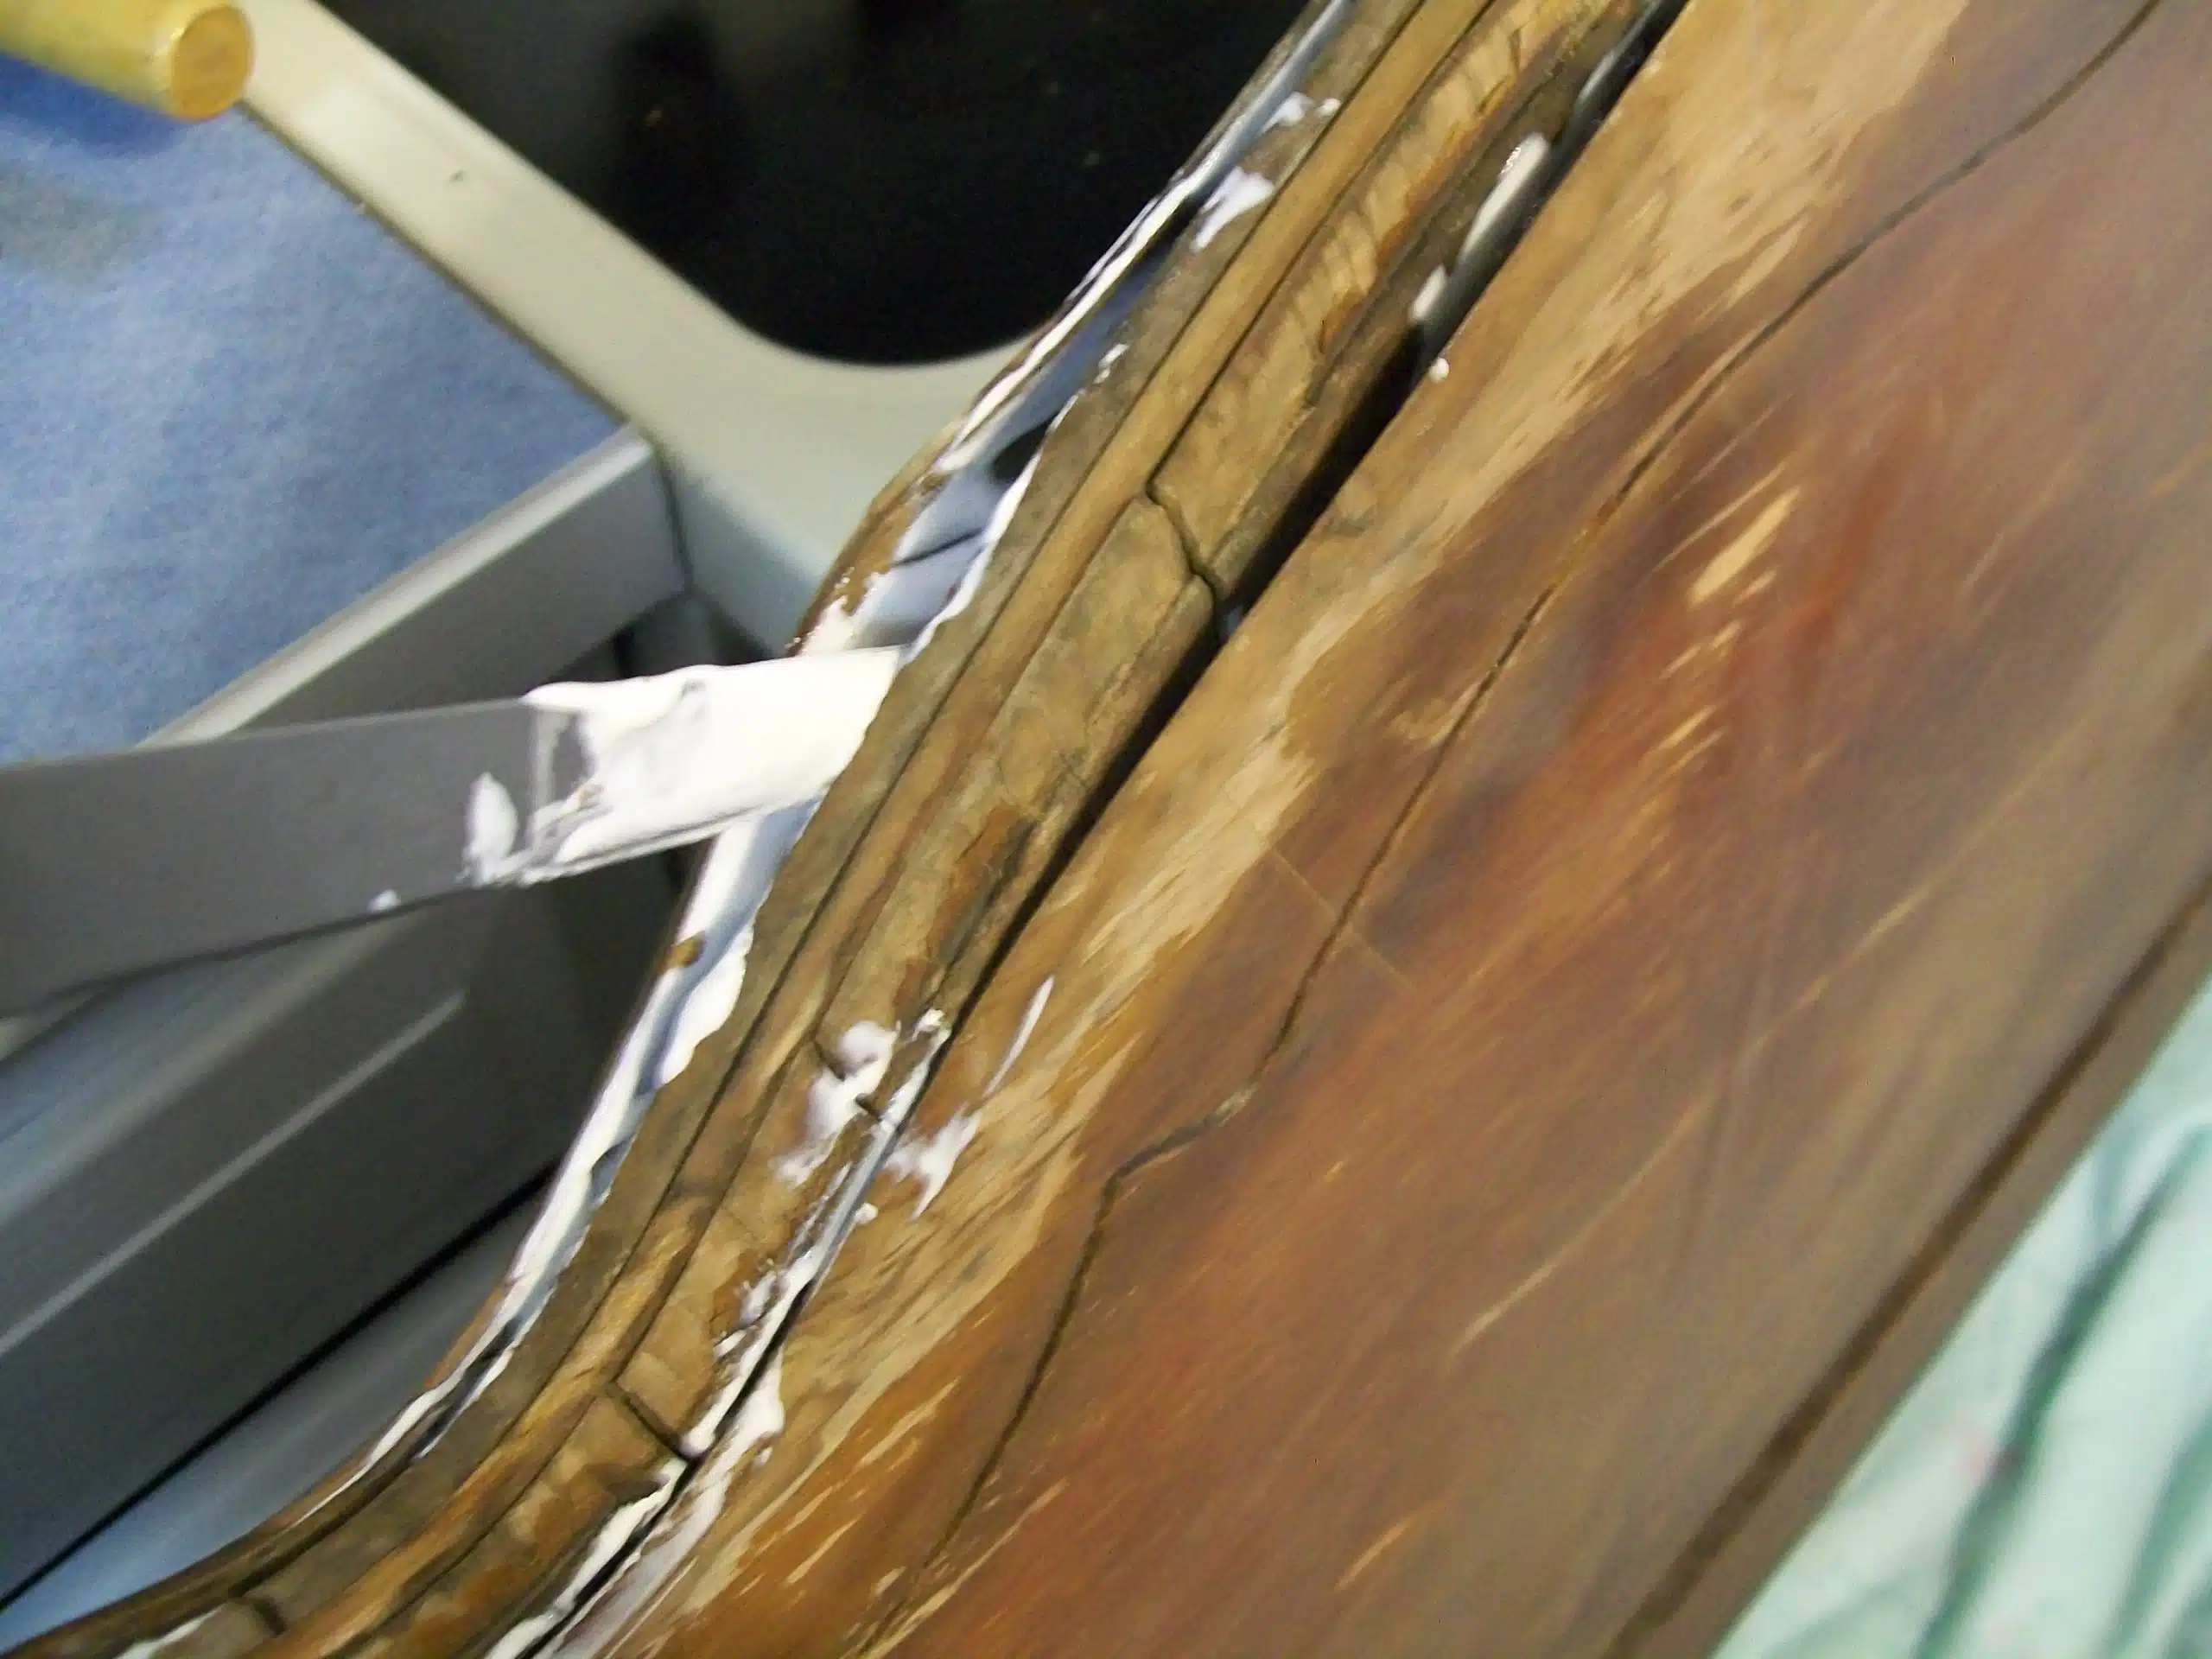
Then, I used something very thin to spread the glue. If you look carefully, you’ll see how wavy the veneer is in both the front and the back. After I spread the glue I need to clamp it.
New Use for Painter's Tape
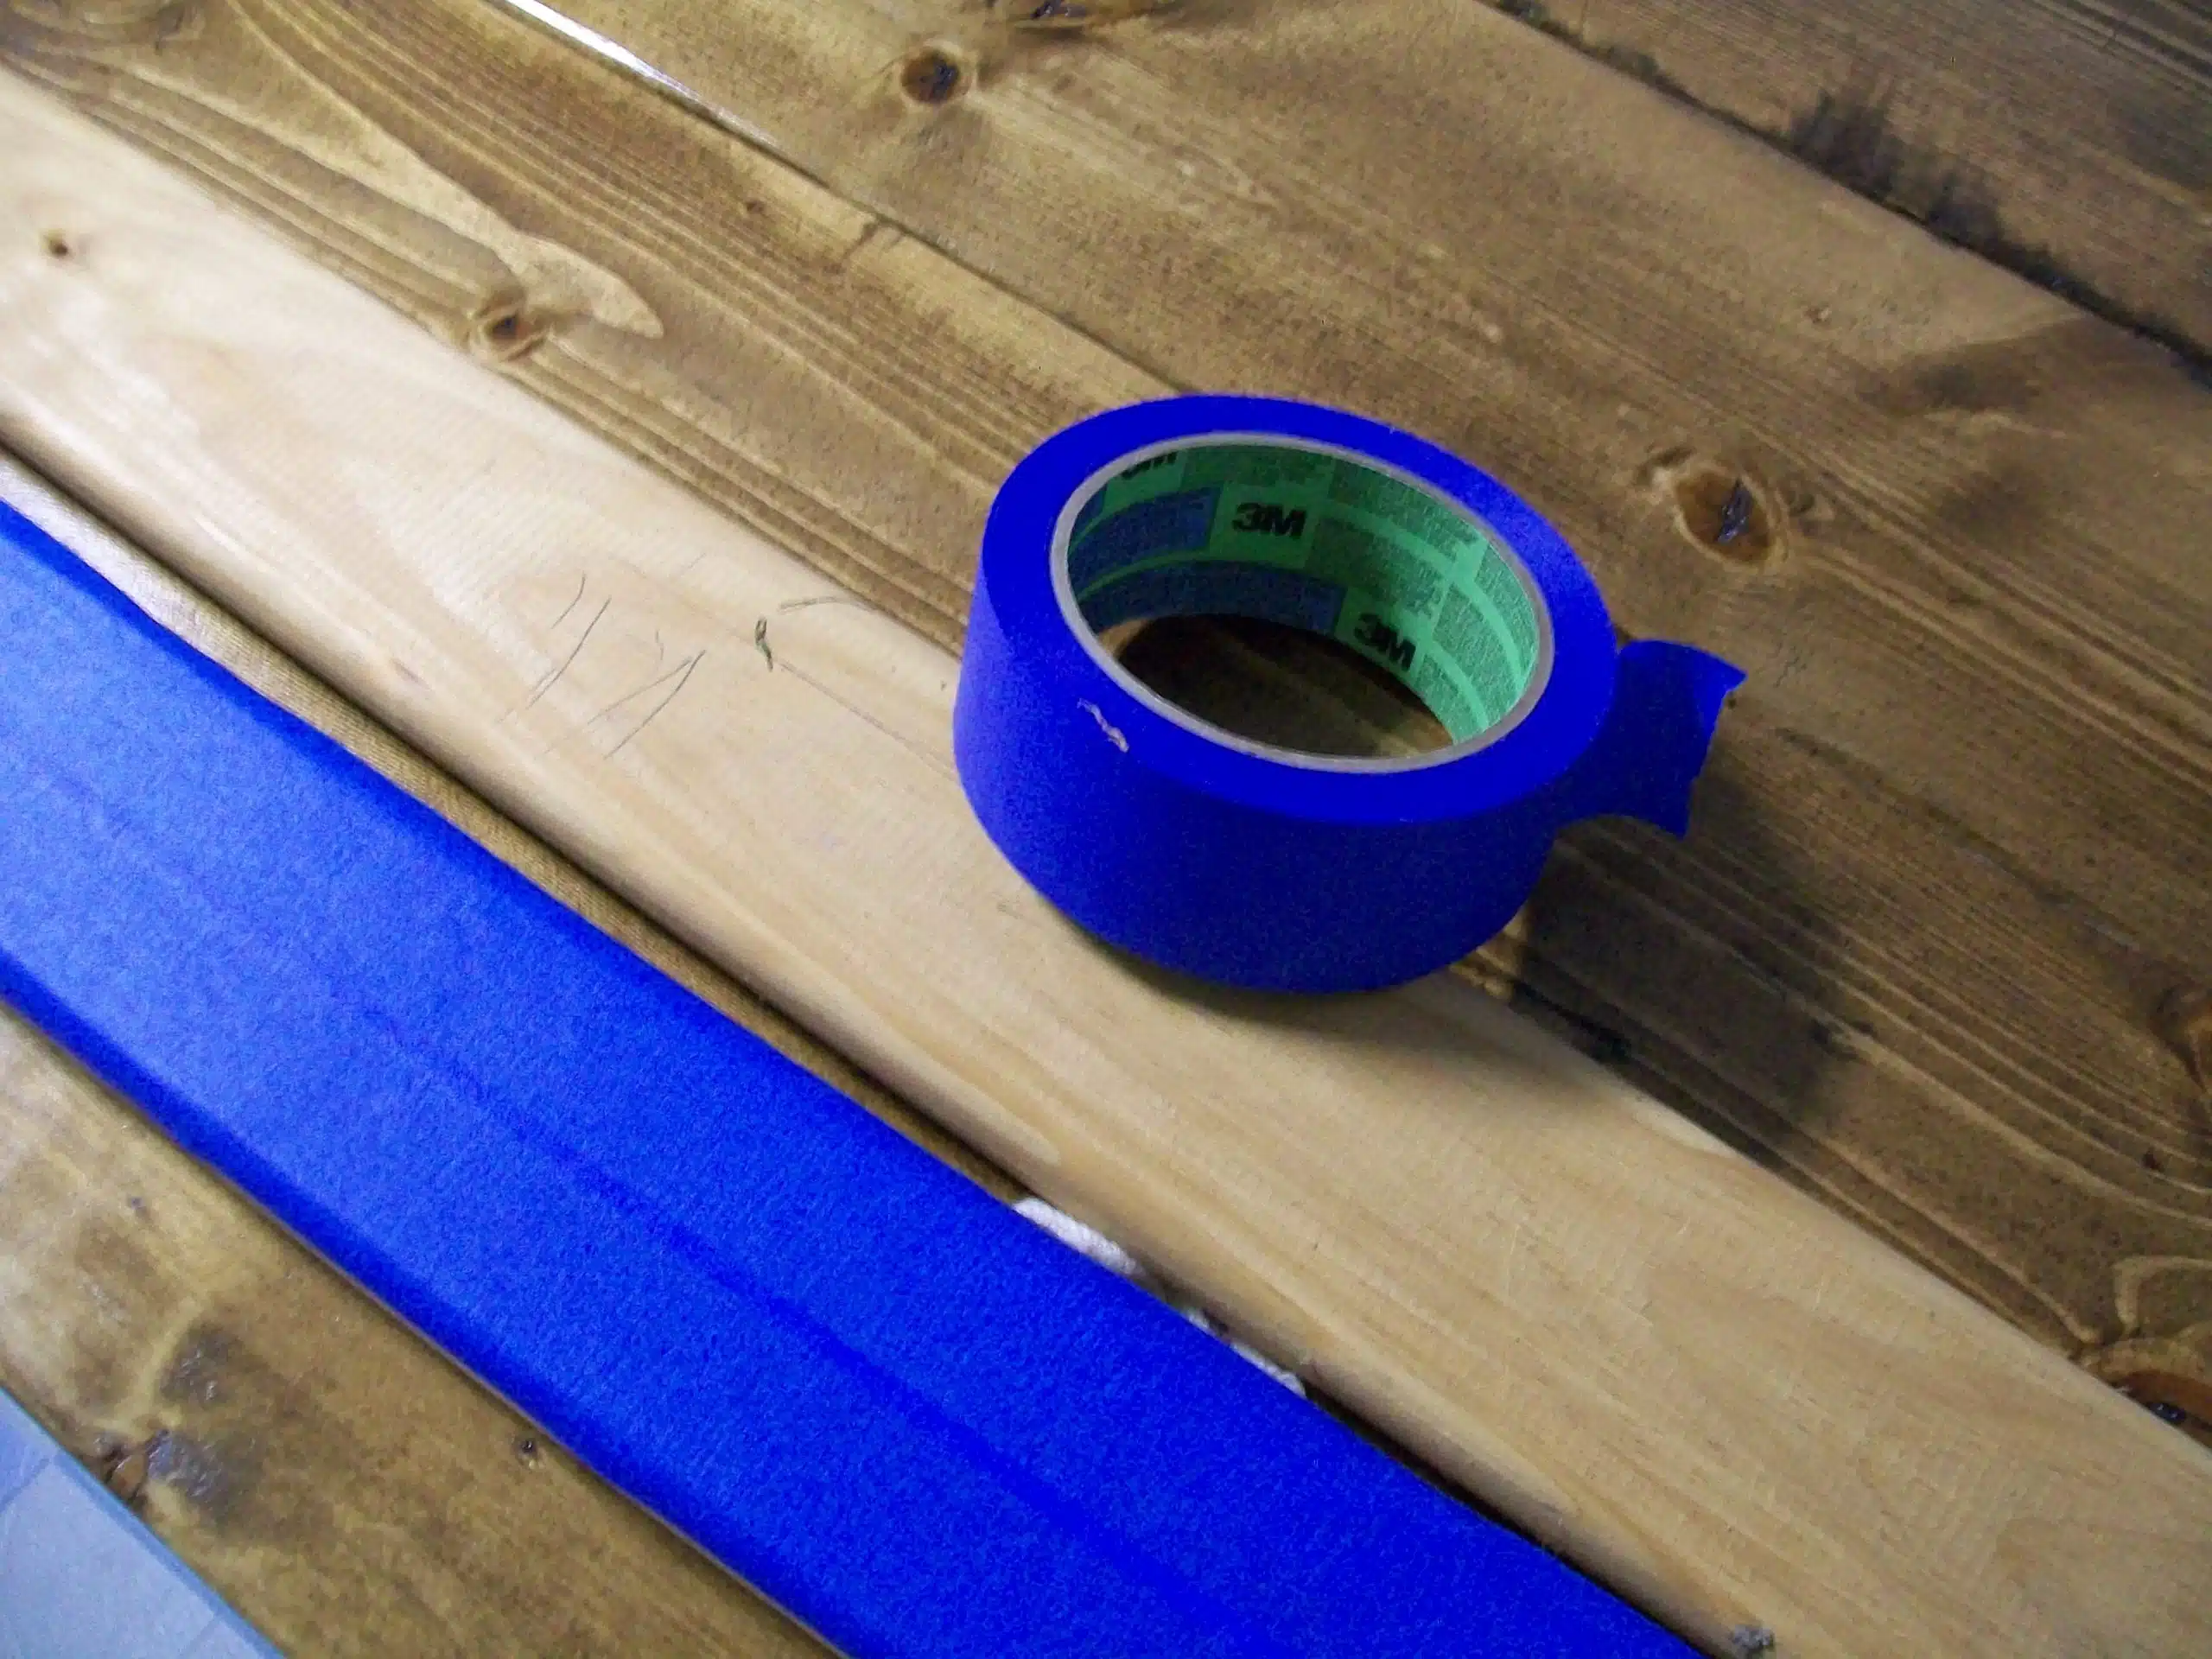
My regular readers know I’m a huge fan of ScotchBlue Painter’s tape. I have found a brand new use for it! Look how I applied tape to two pieces of scrap lumber.
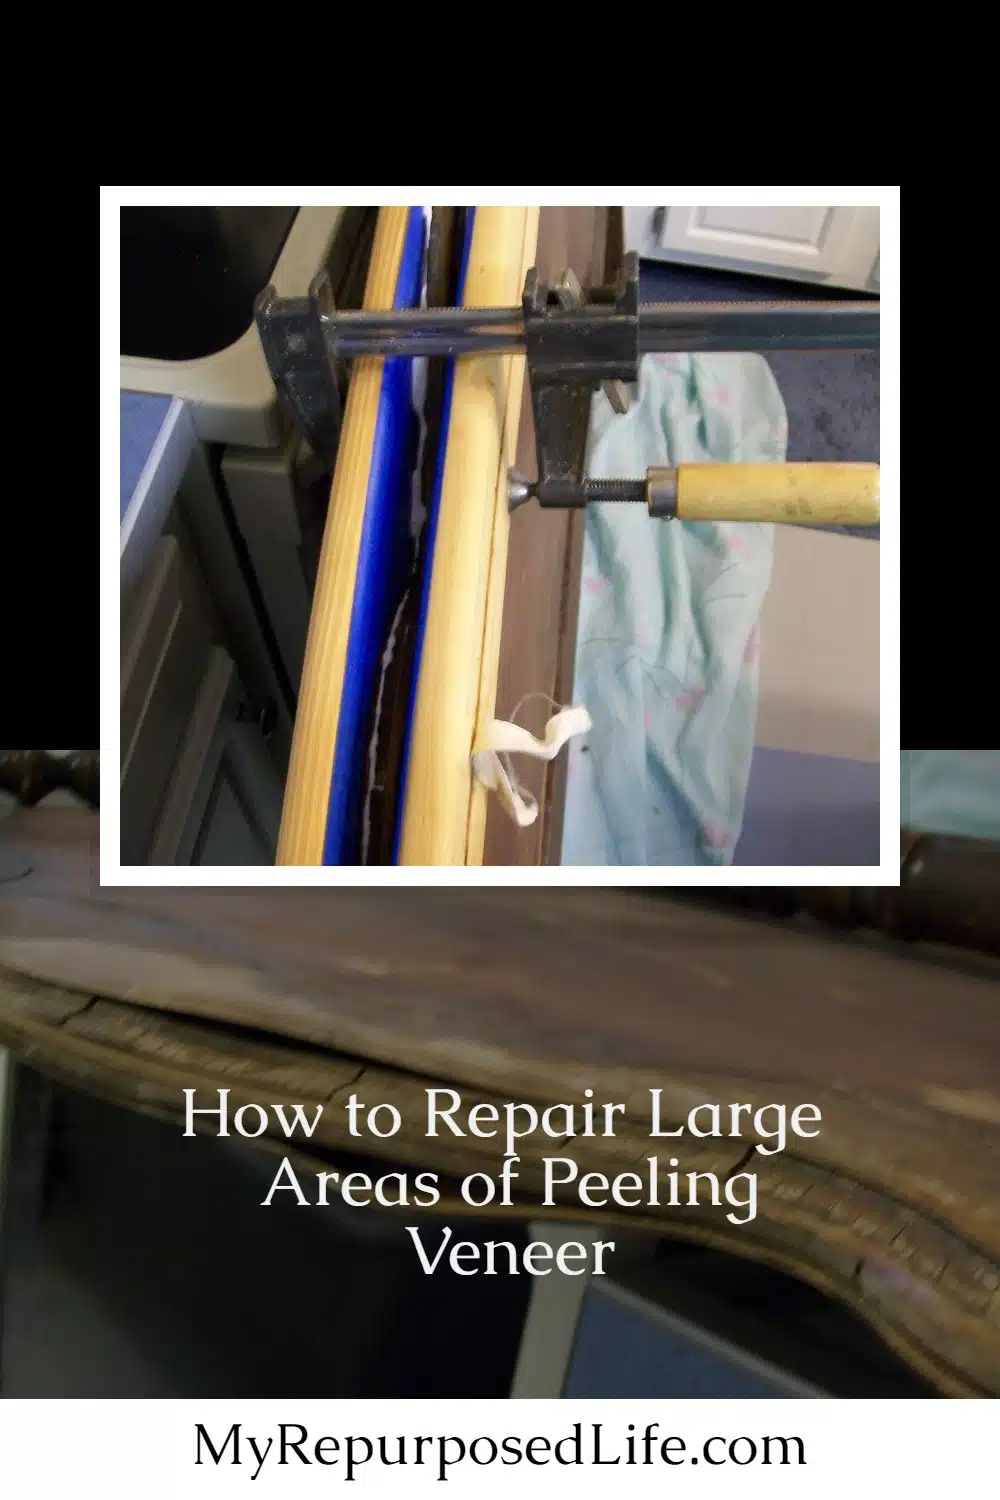
Clamp Headboard Veneer
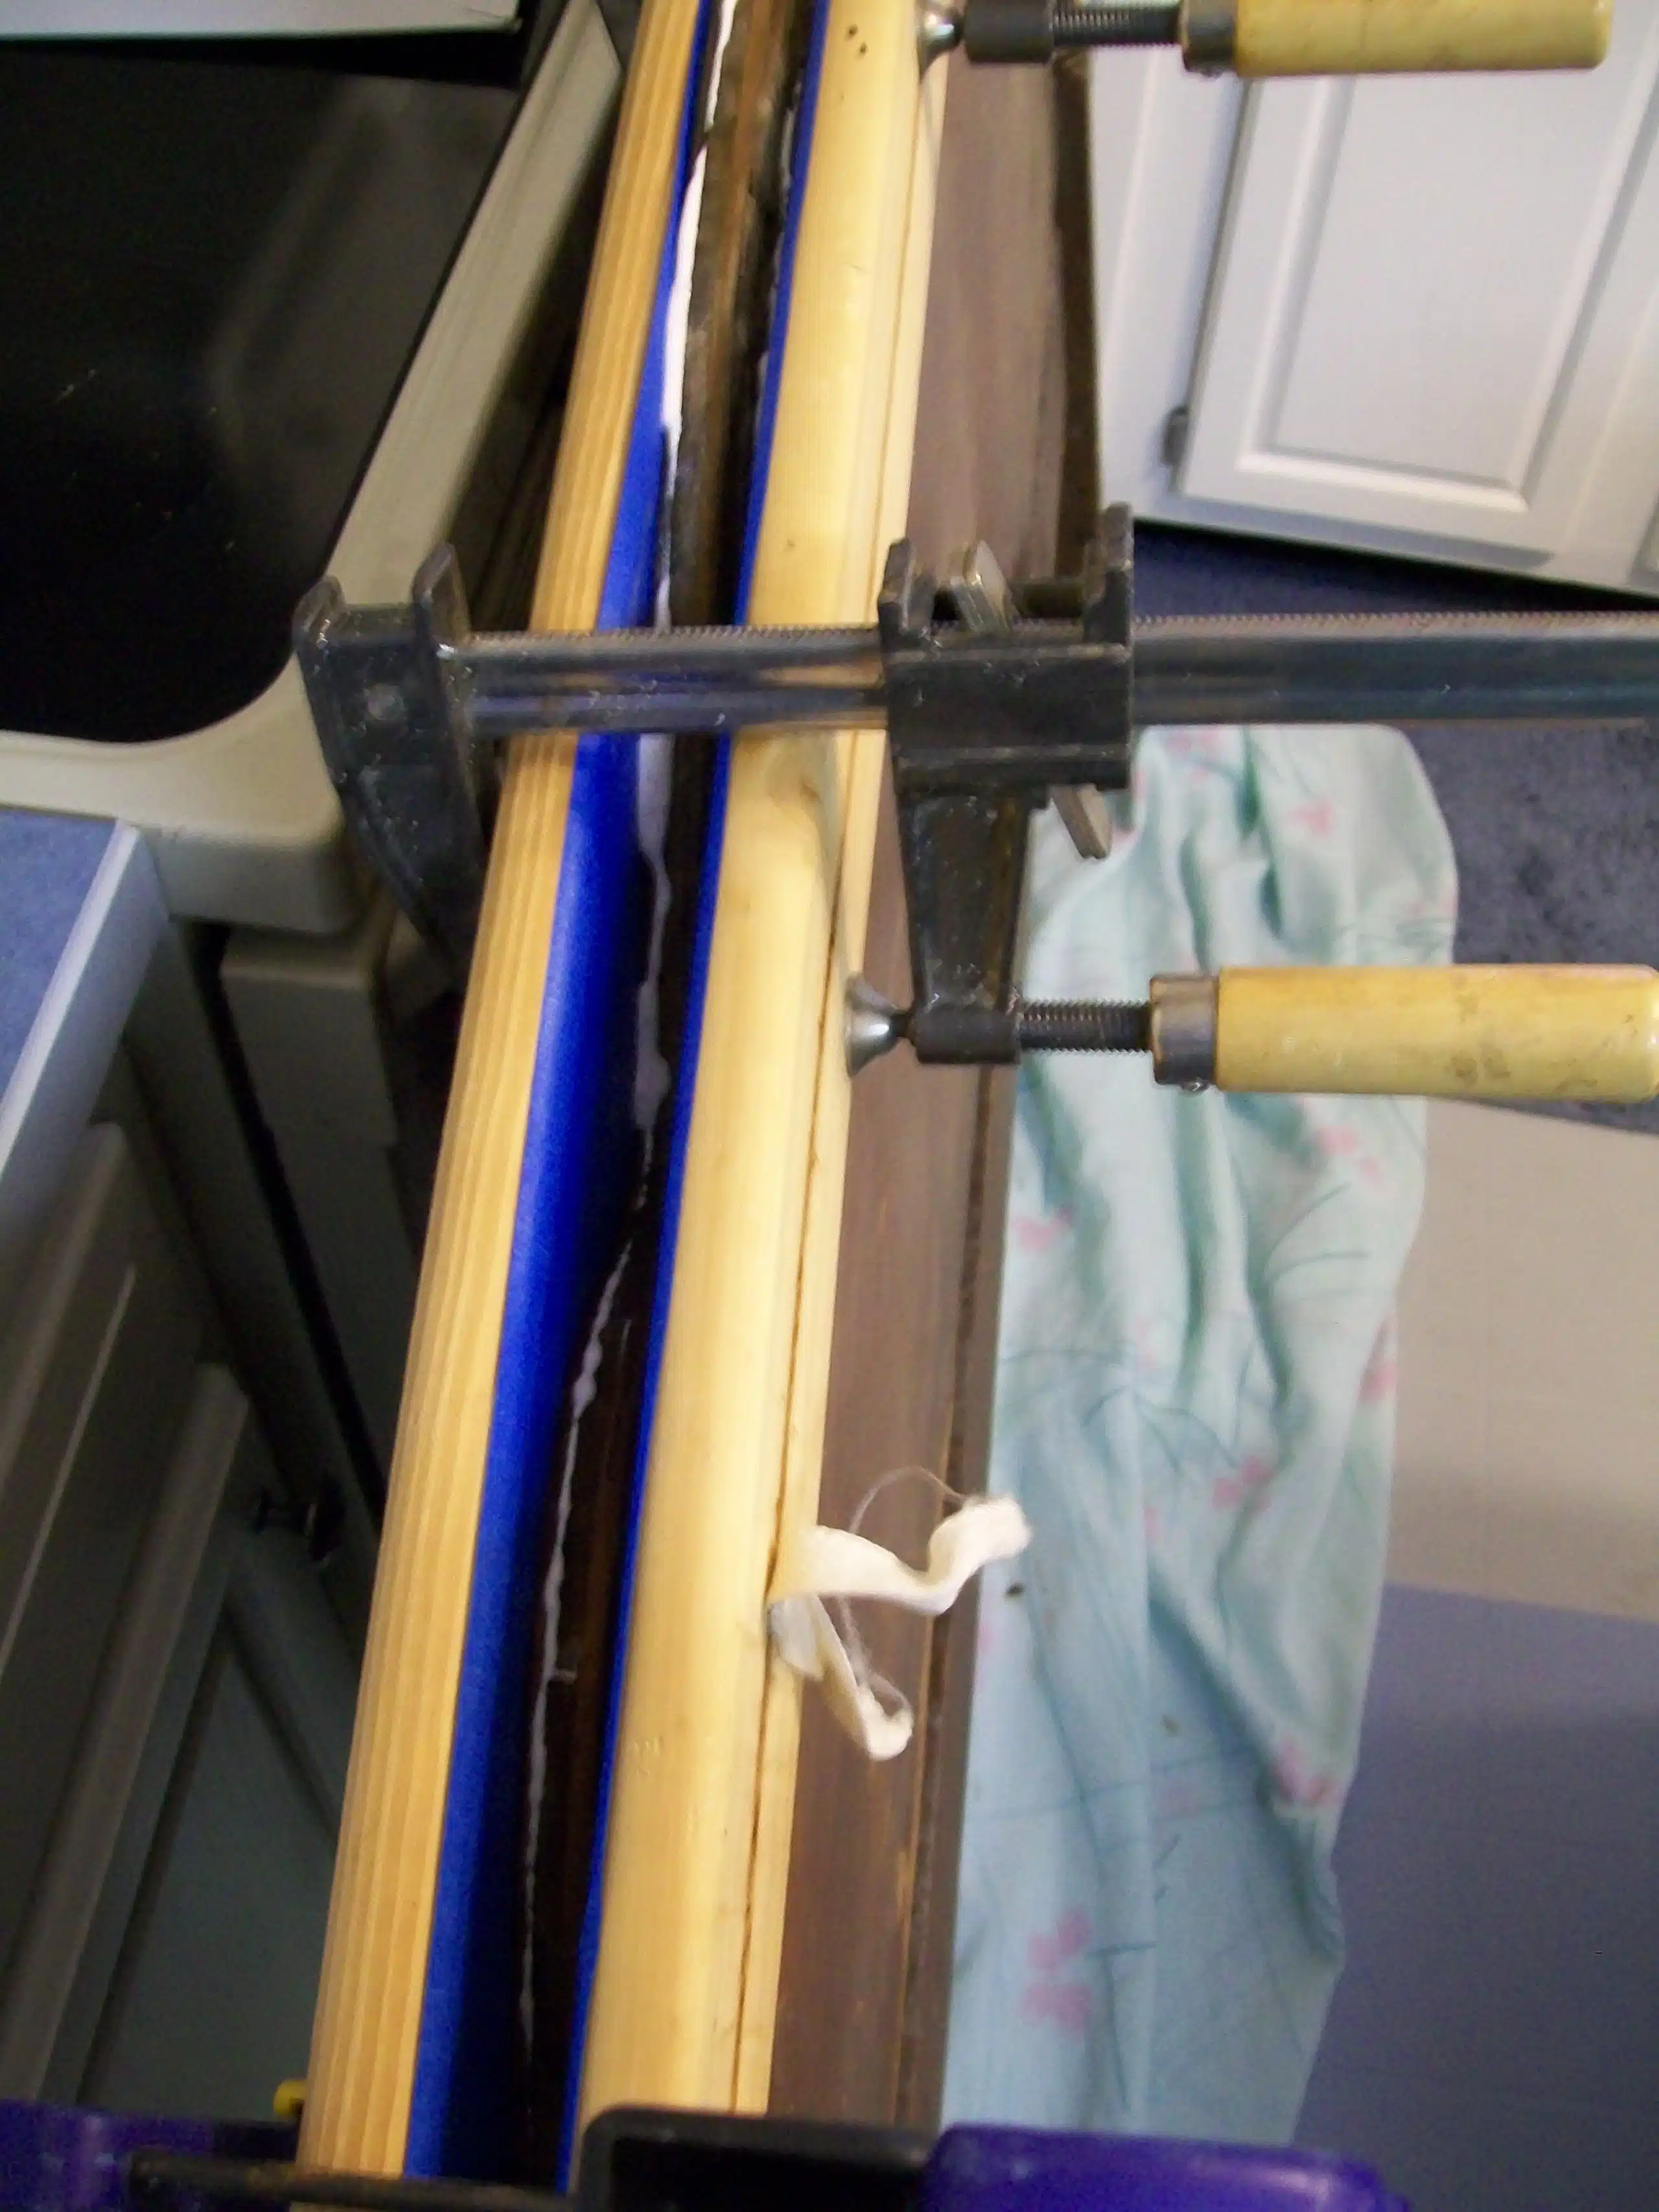

I used those two pieces of taped boards to clamp the headboard. Applying just enough pressure to get a little ooze. Don’t apply so much pressure that you make ALL of the glue ooze out.
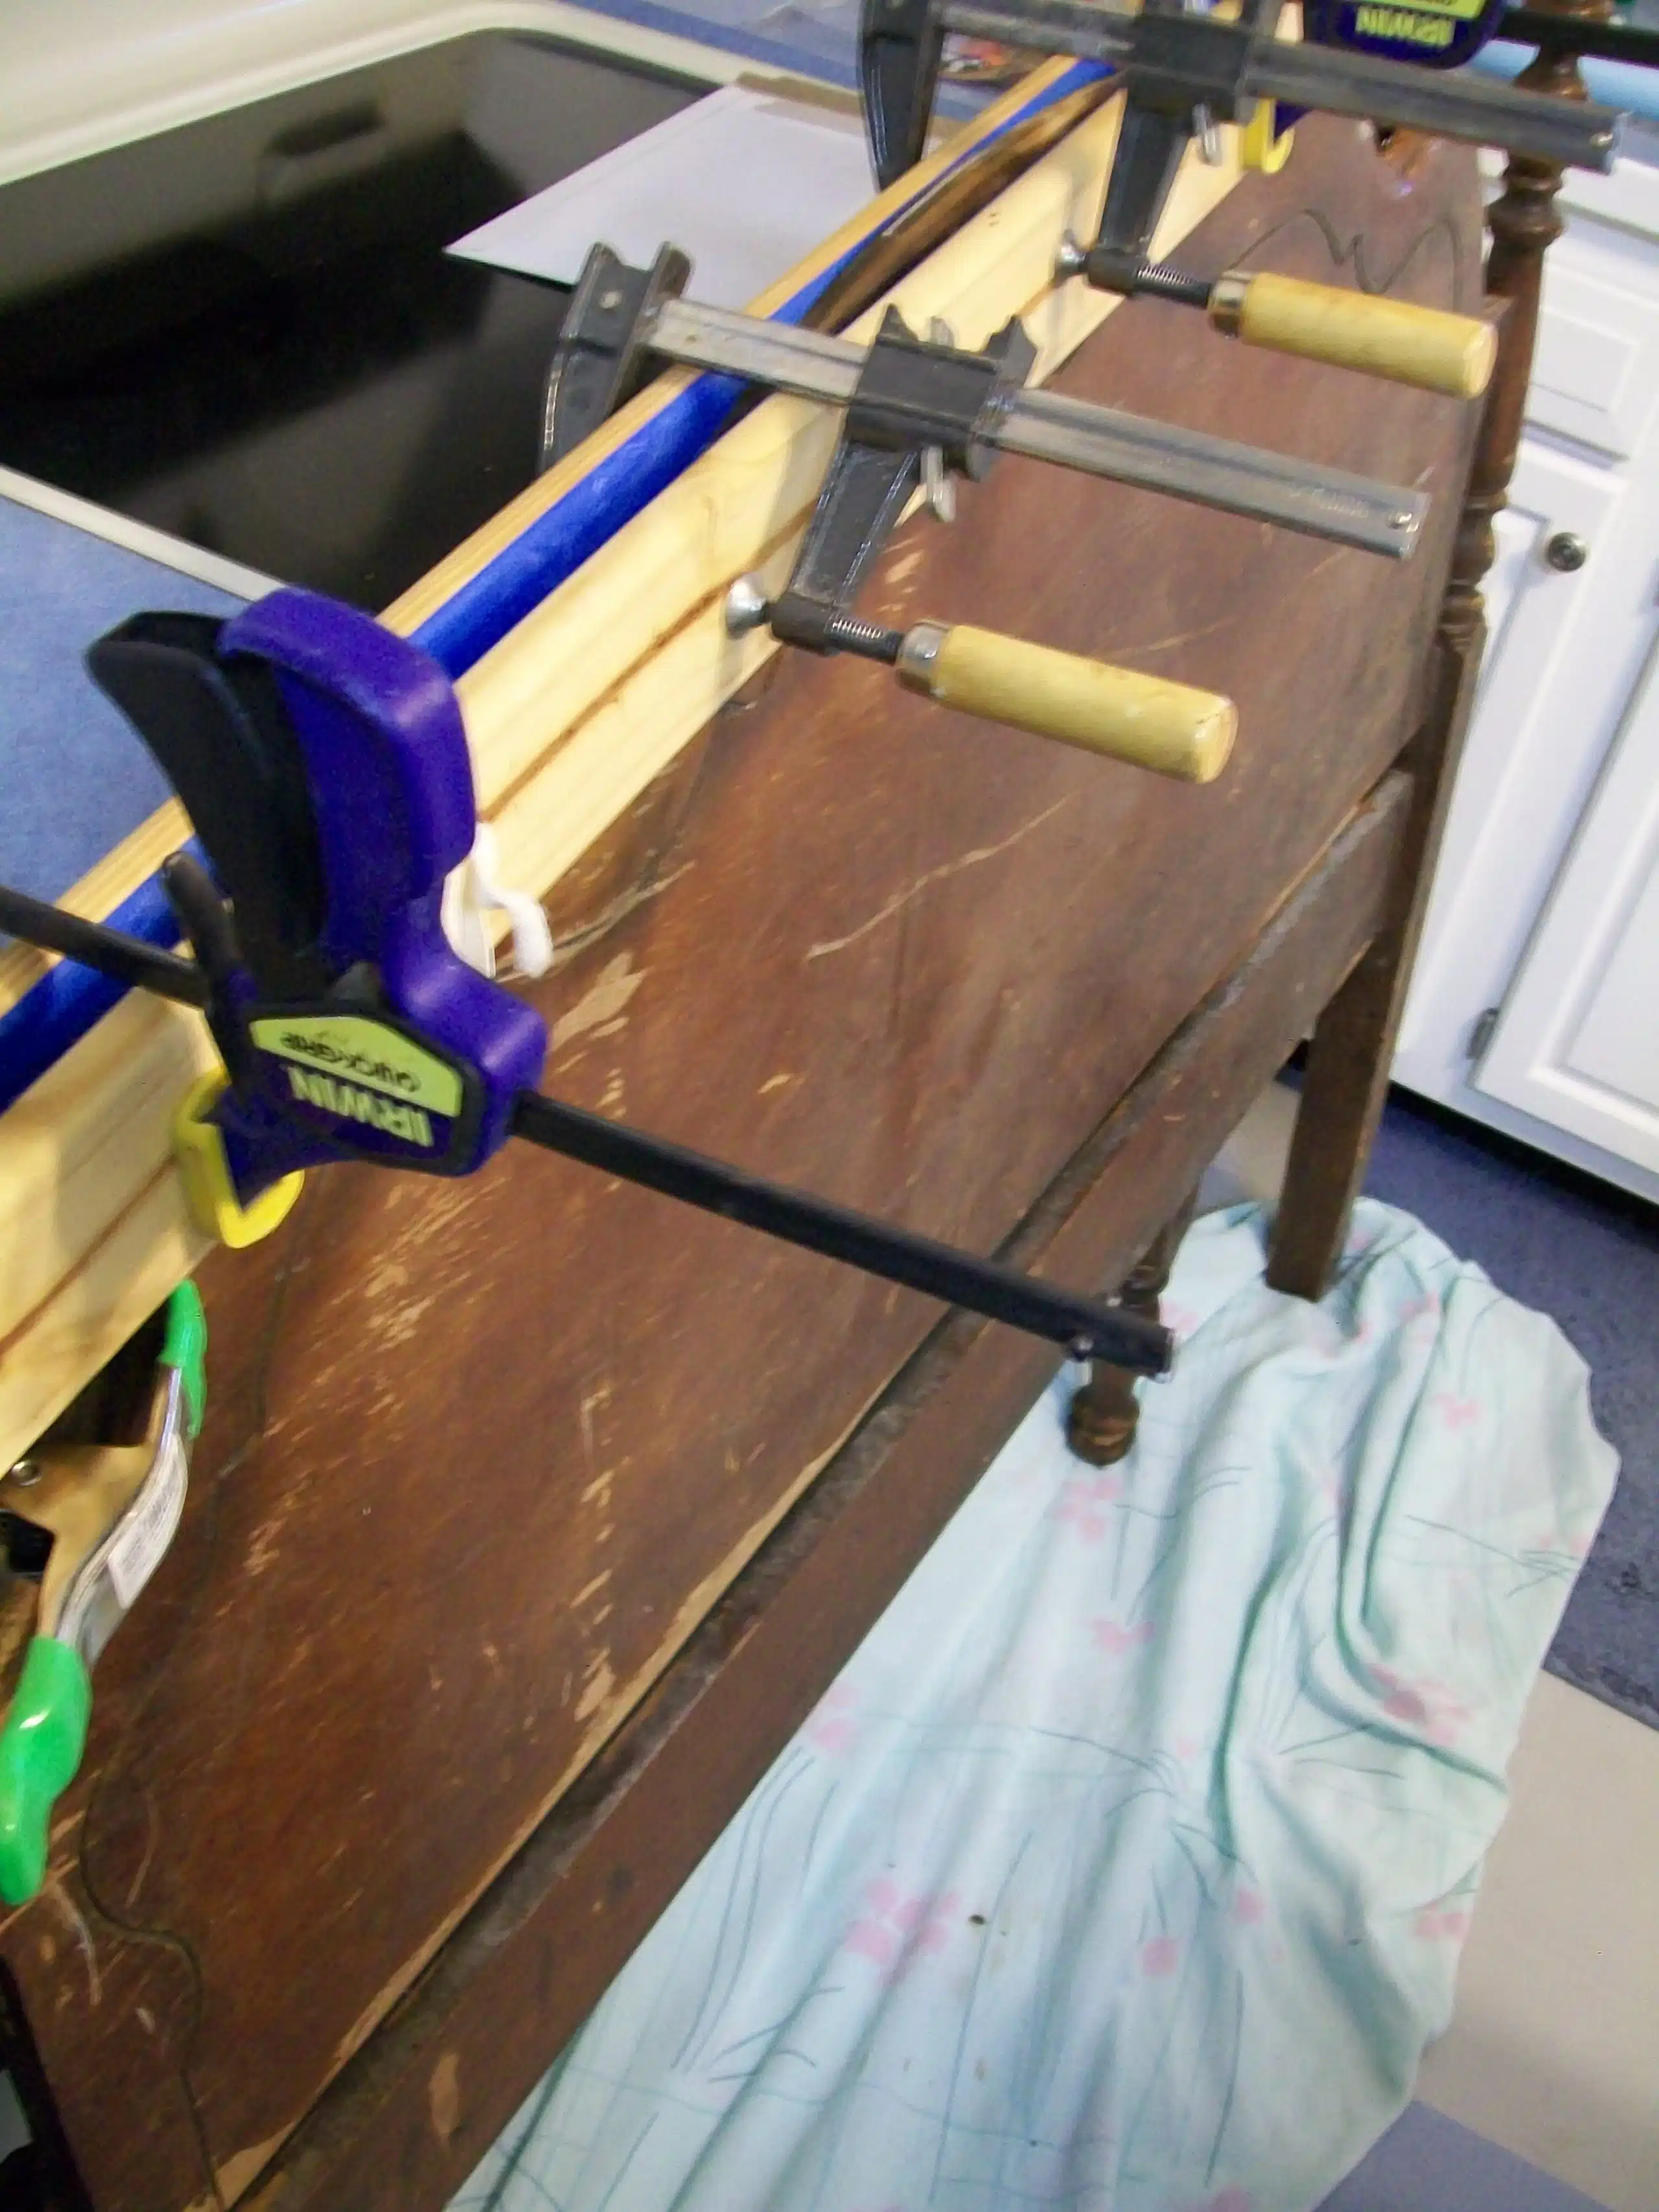
I used four clamps and let the glue set up.
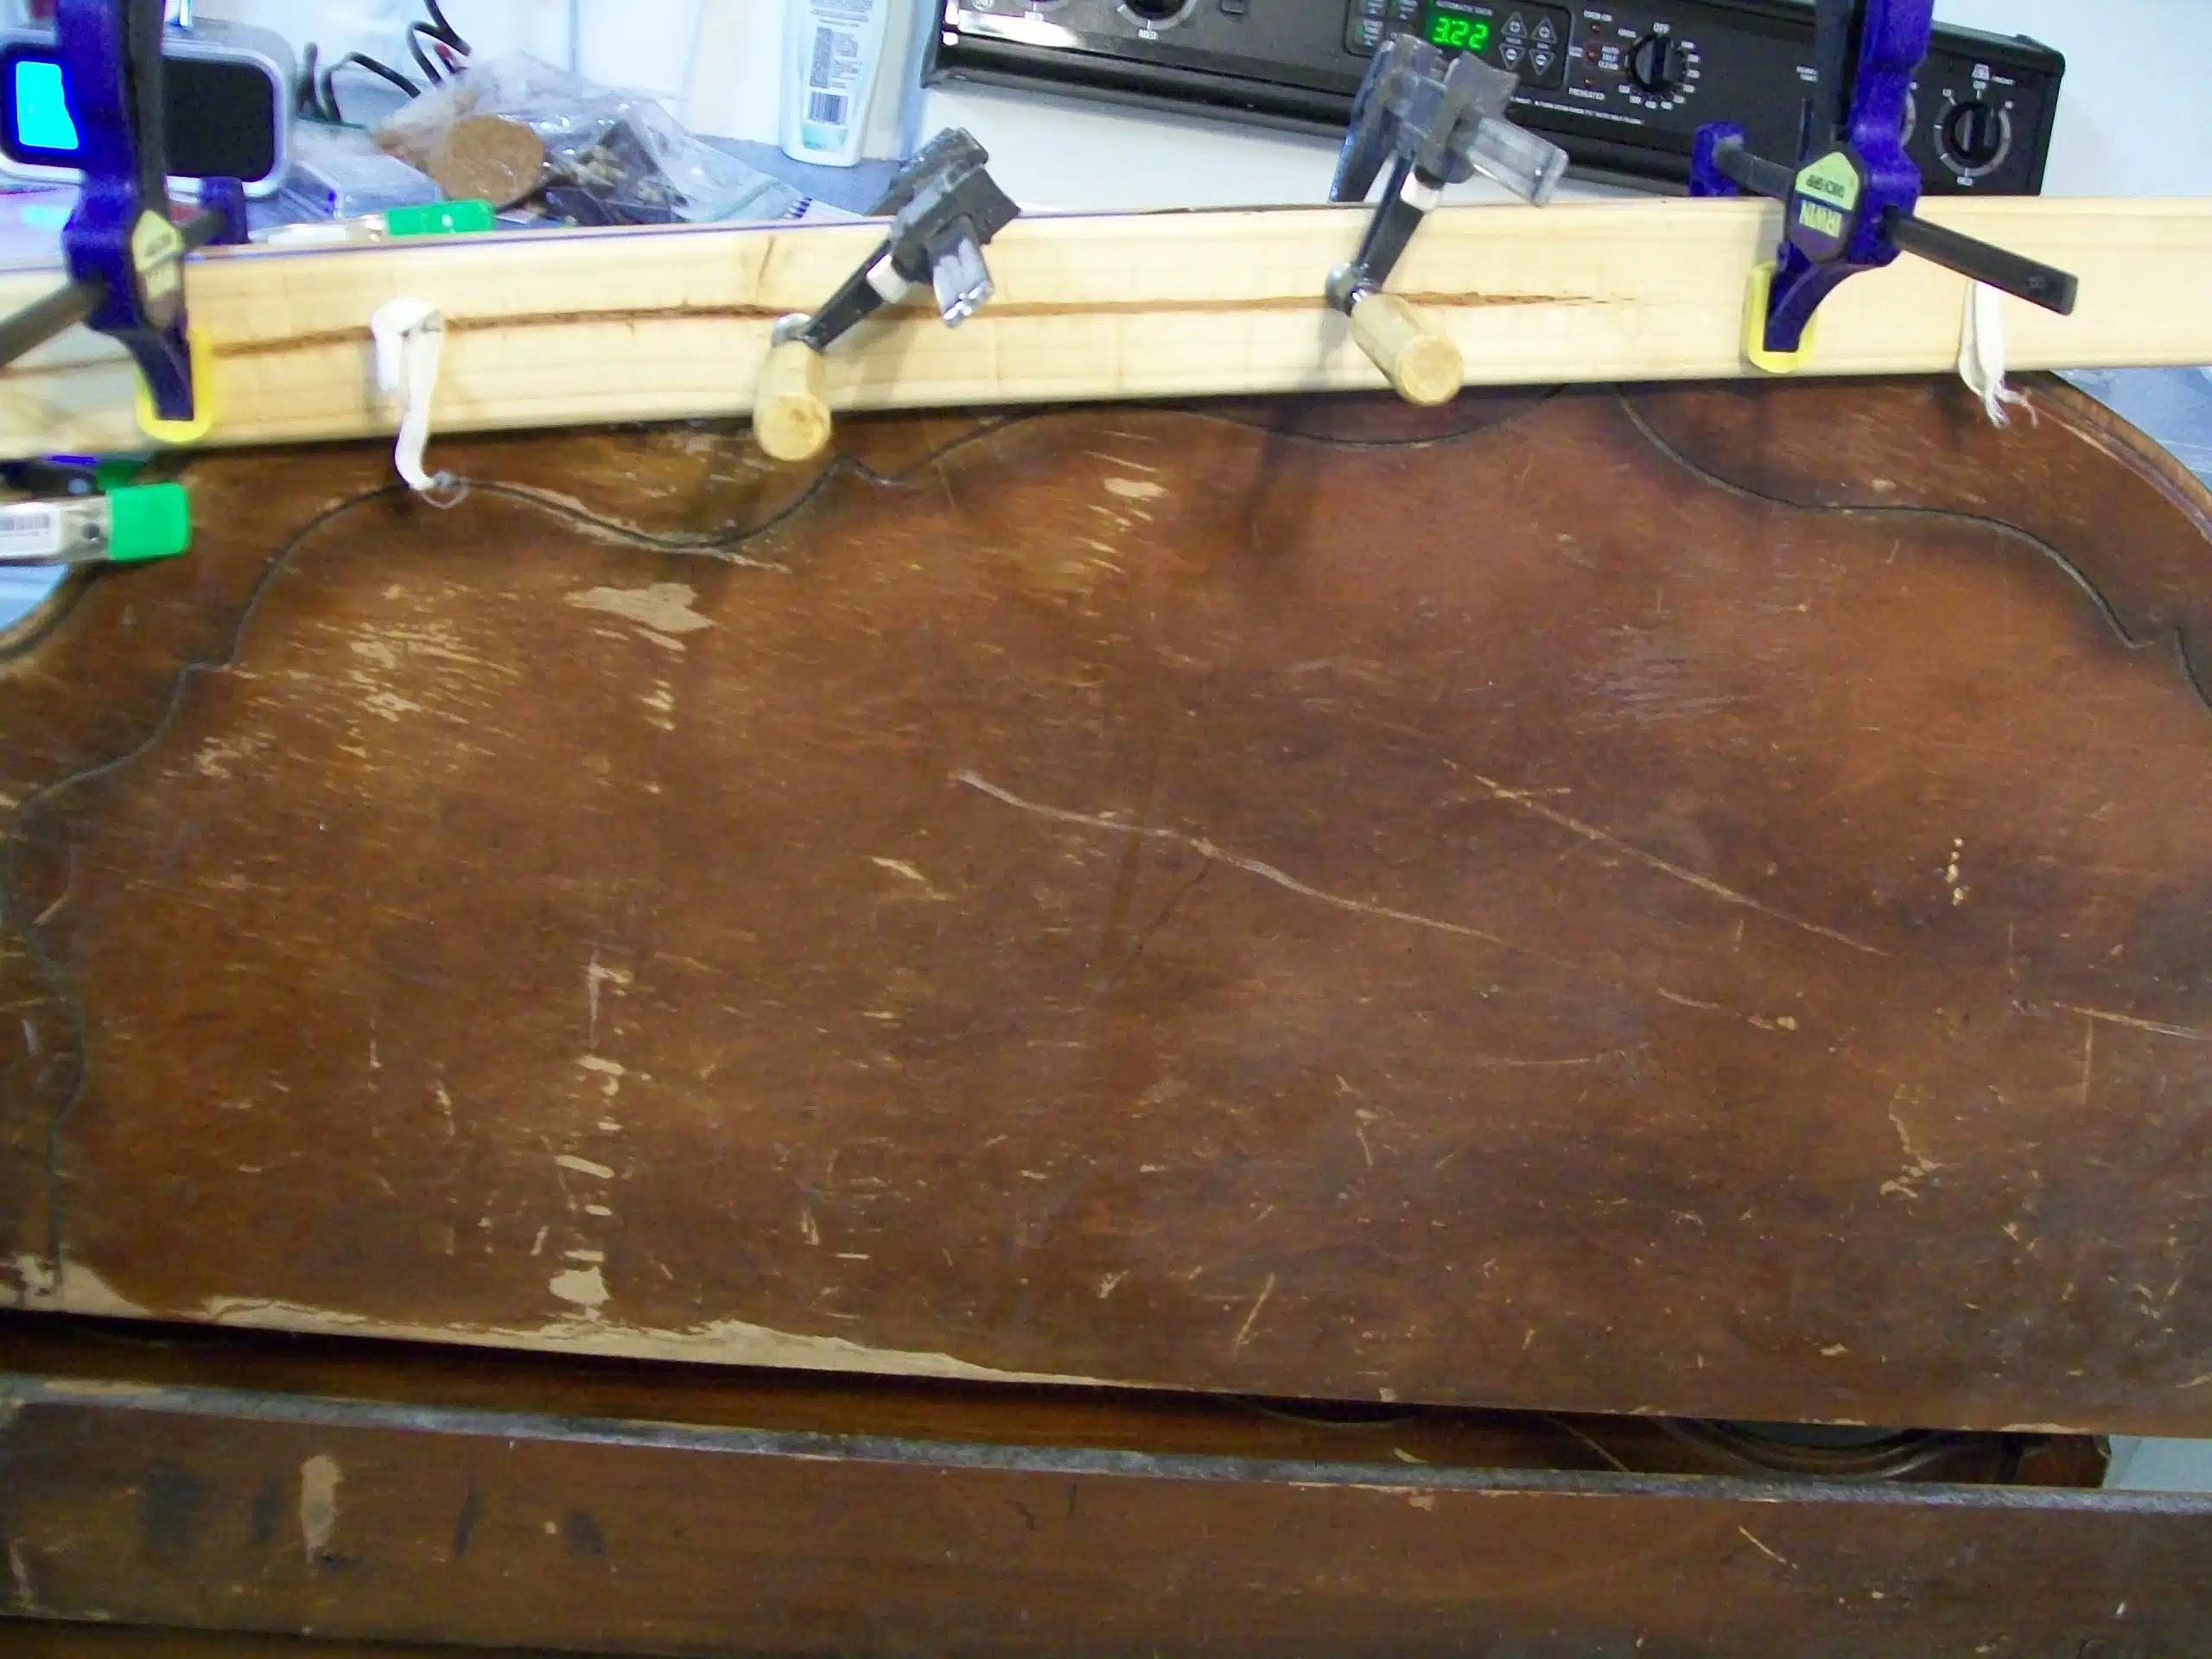
You can see that this option is a lot better than using the same four clamps in random areas. It sandwiched the bad veneer really well.
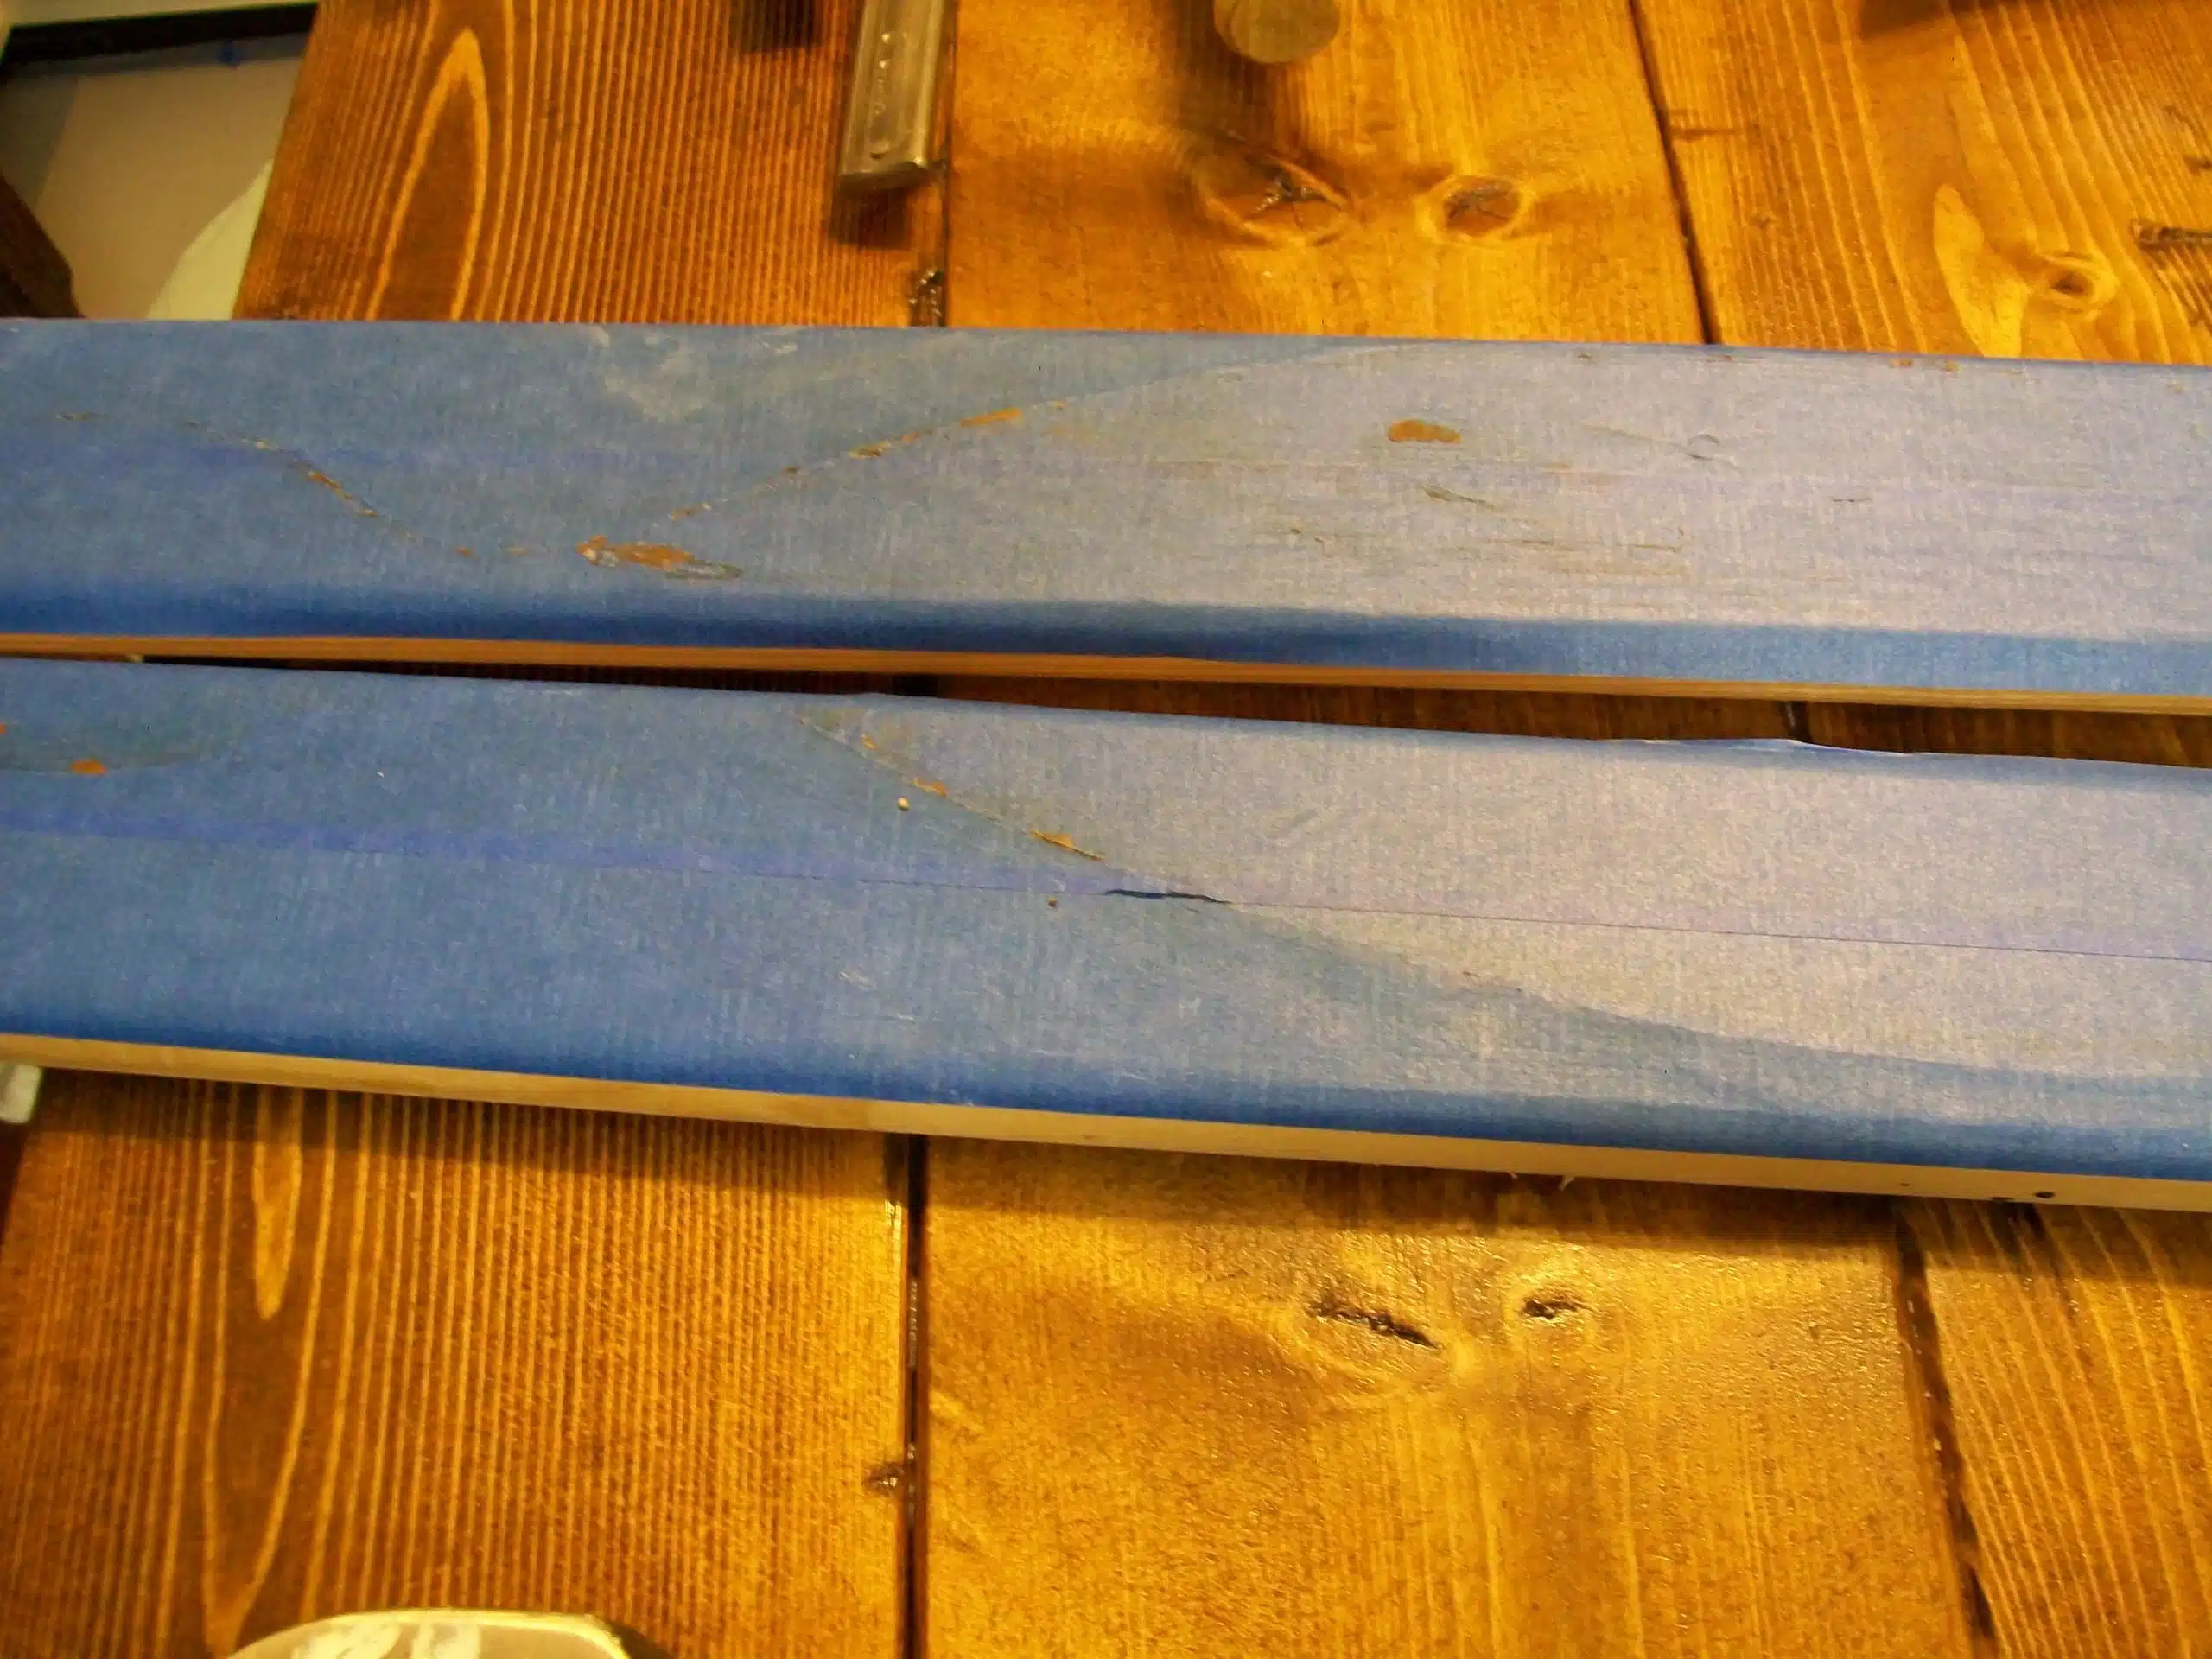
When the glue had set up, I removed the clamps and “popped off” the scrap lumber. It did stick slightly to the bed, but not like it would have stuck if the ScotchBlue had not been used.
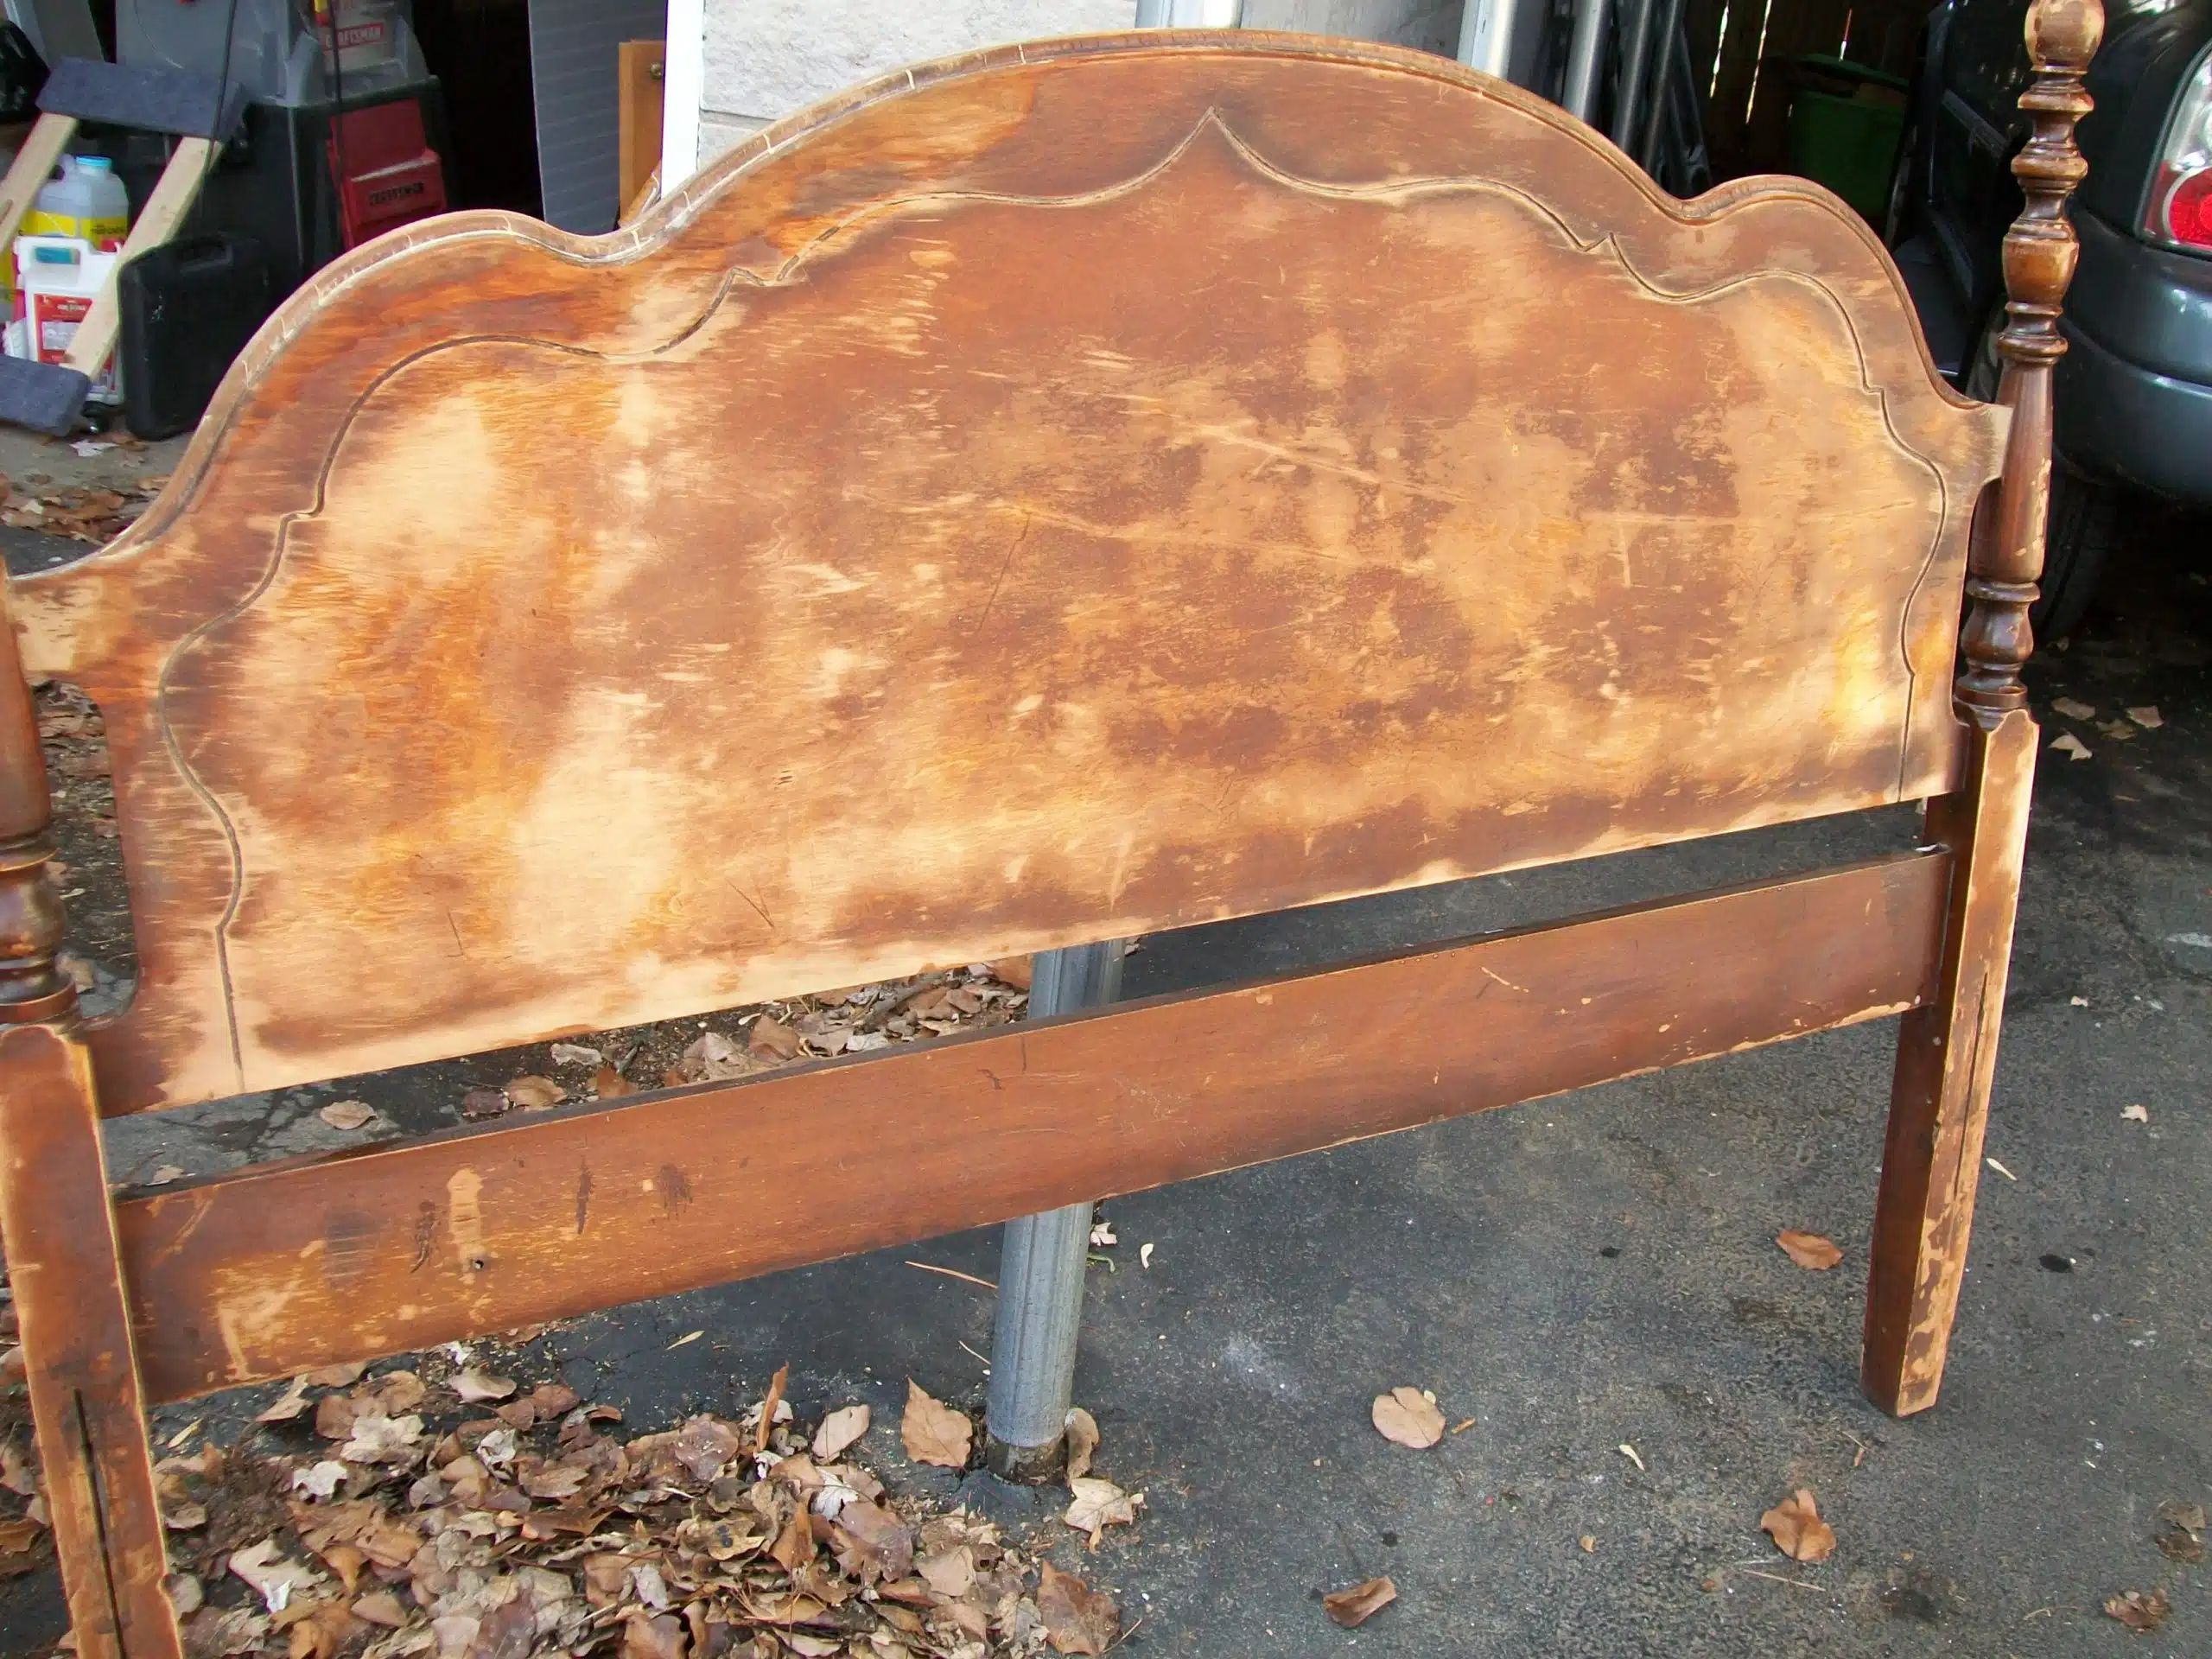
Clean Repaired Headboard
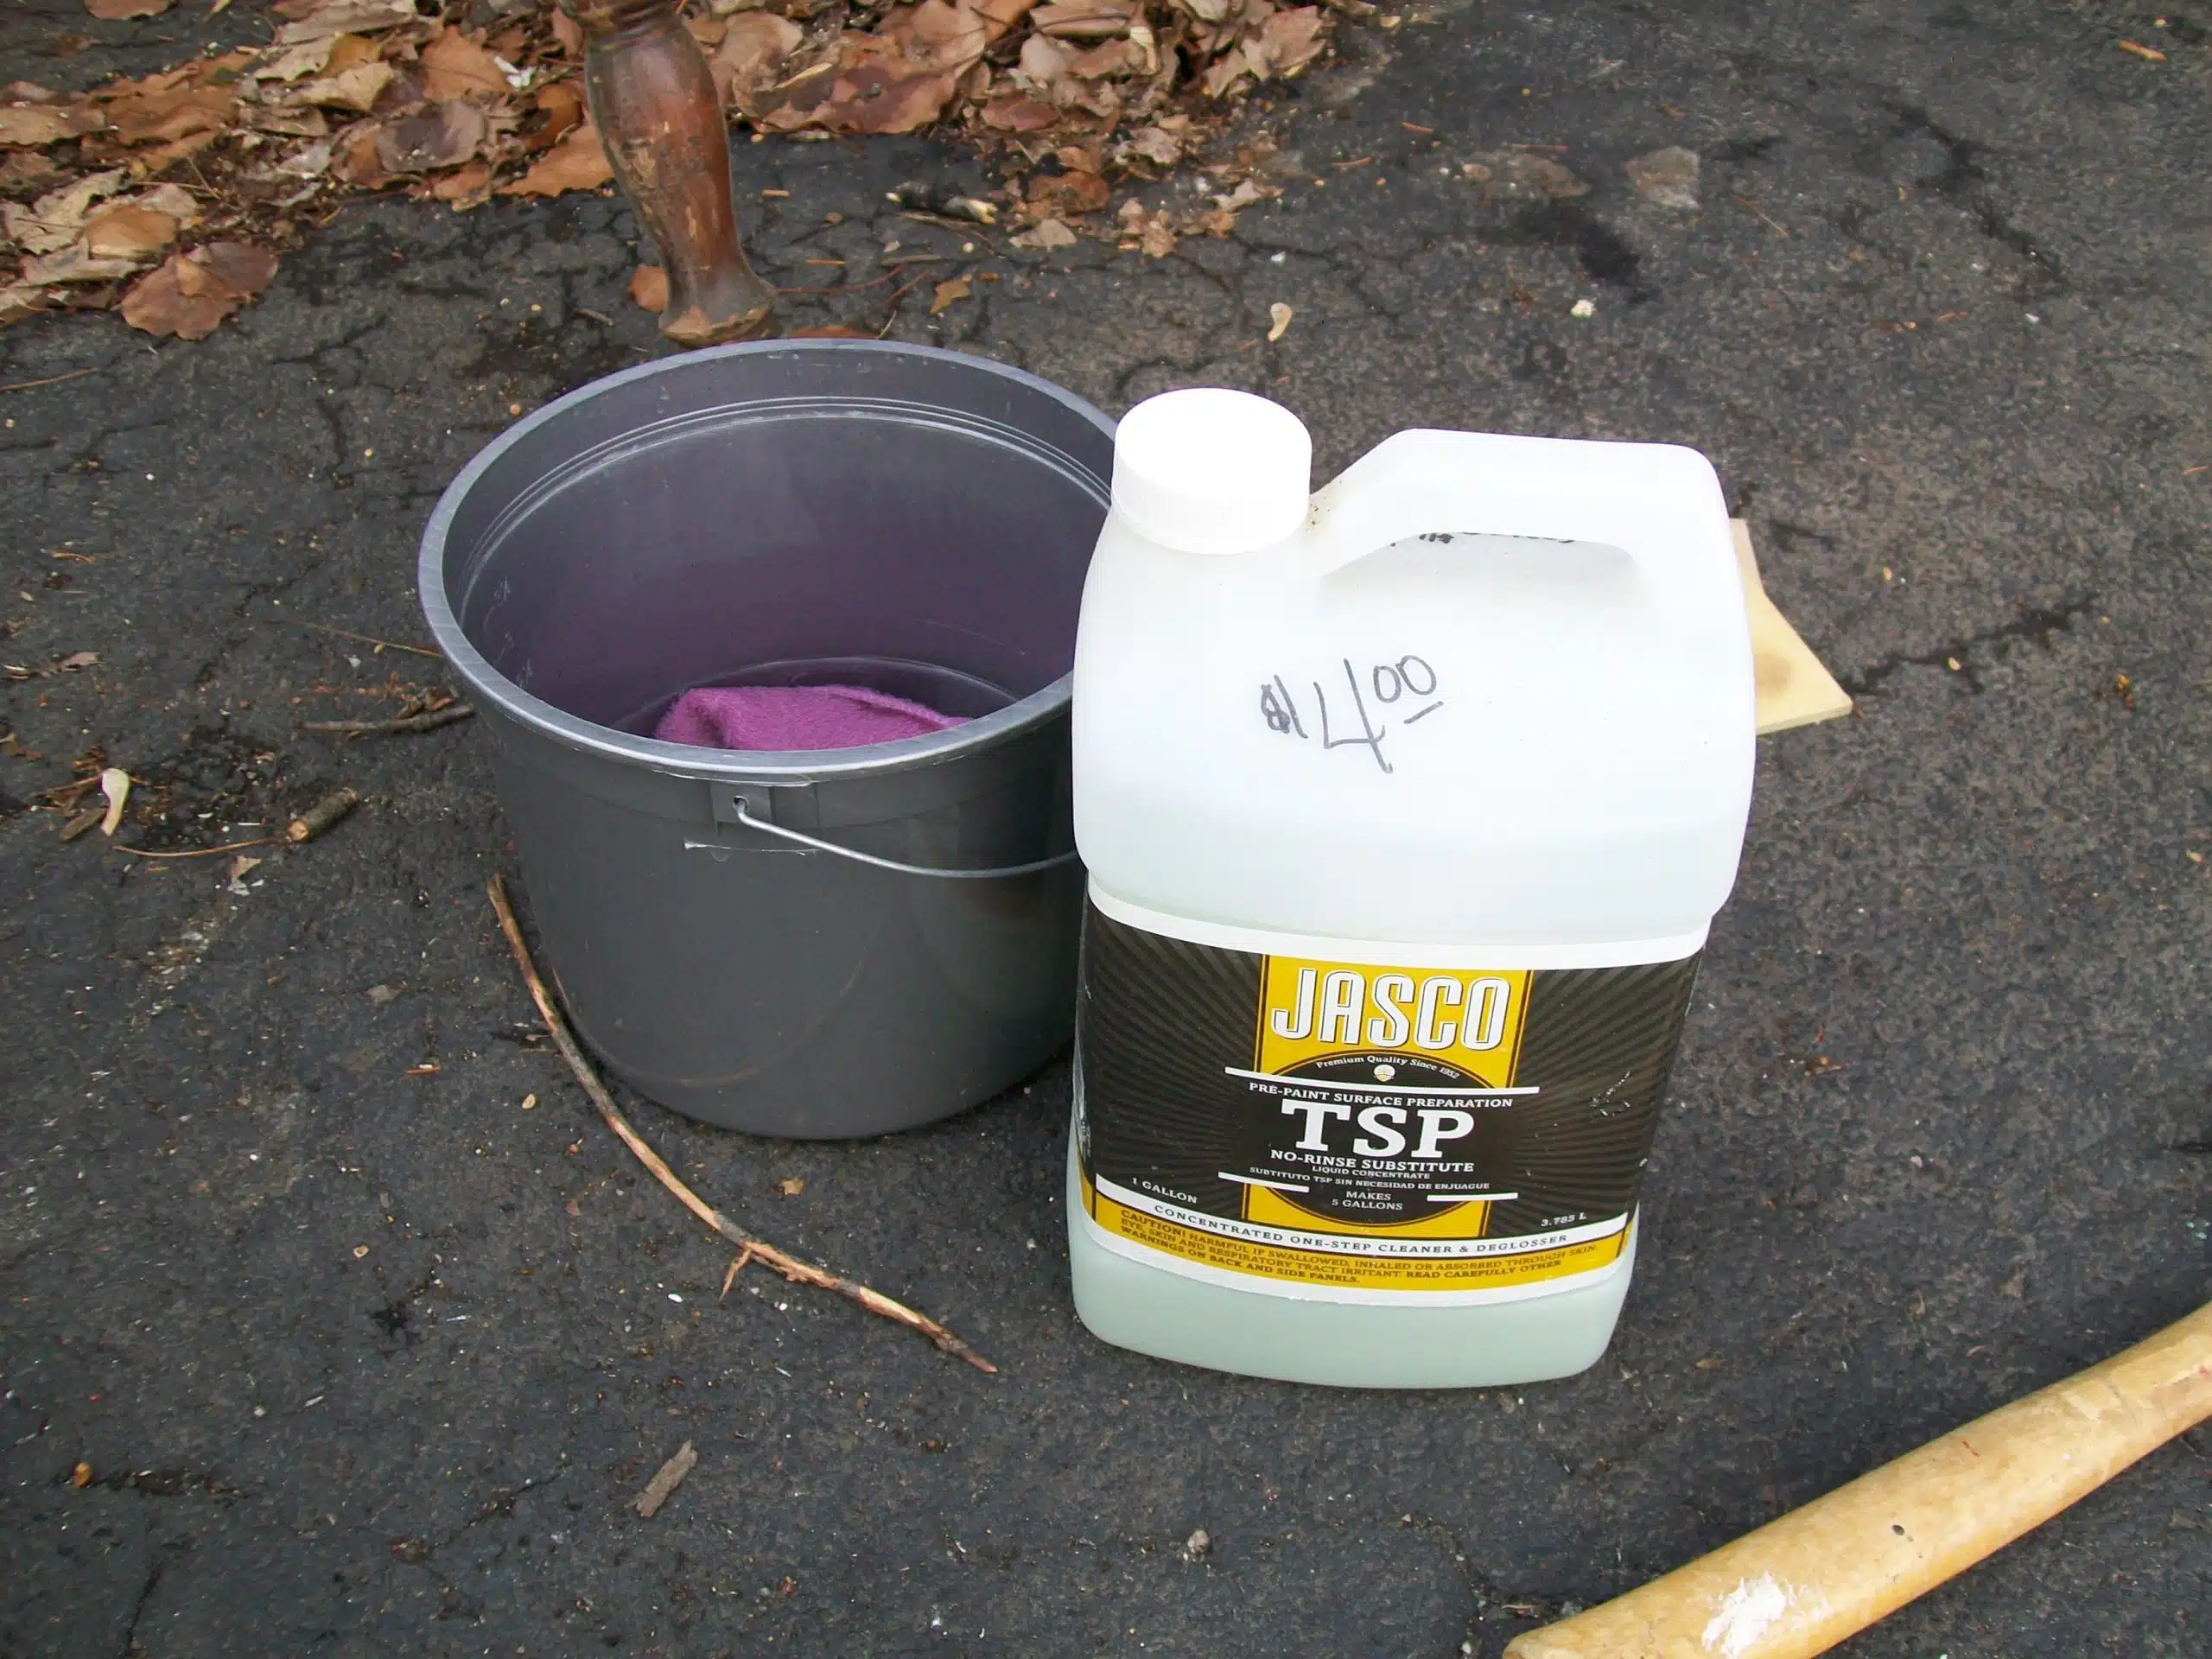
It’s the dead of winter but we had a pretty warm day, so I was able to work outside. After sanding the bed, I used some TSP to wash it down.
Repair a Headboard with Wood Putty
There were some cracks there on the top left, this is before I filled them with wood putty.
This is after I filled the cracks and sanded.
Paint Headboard White
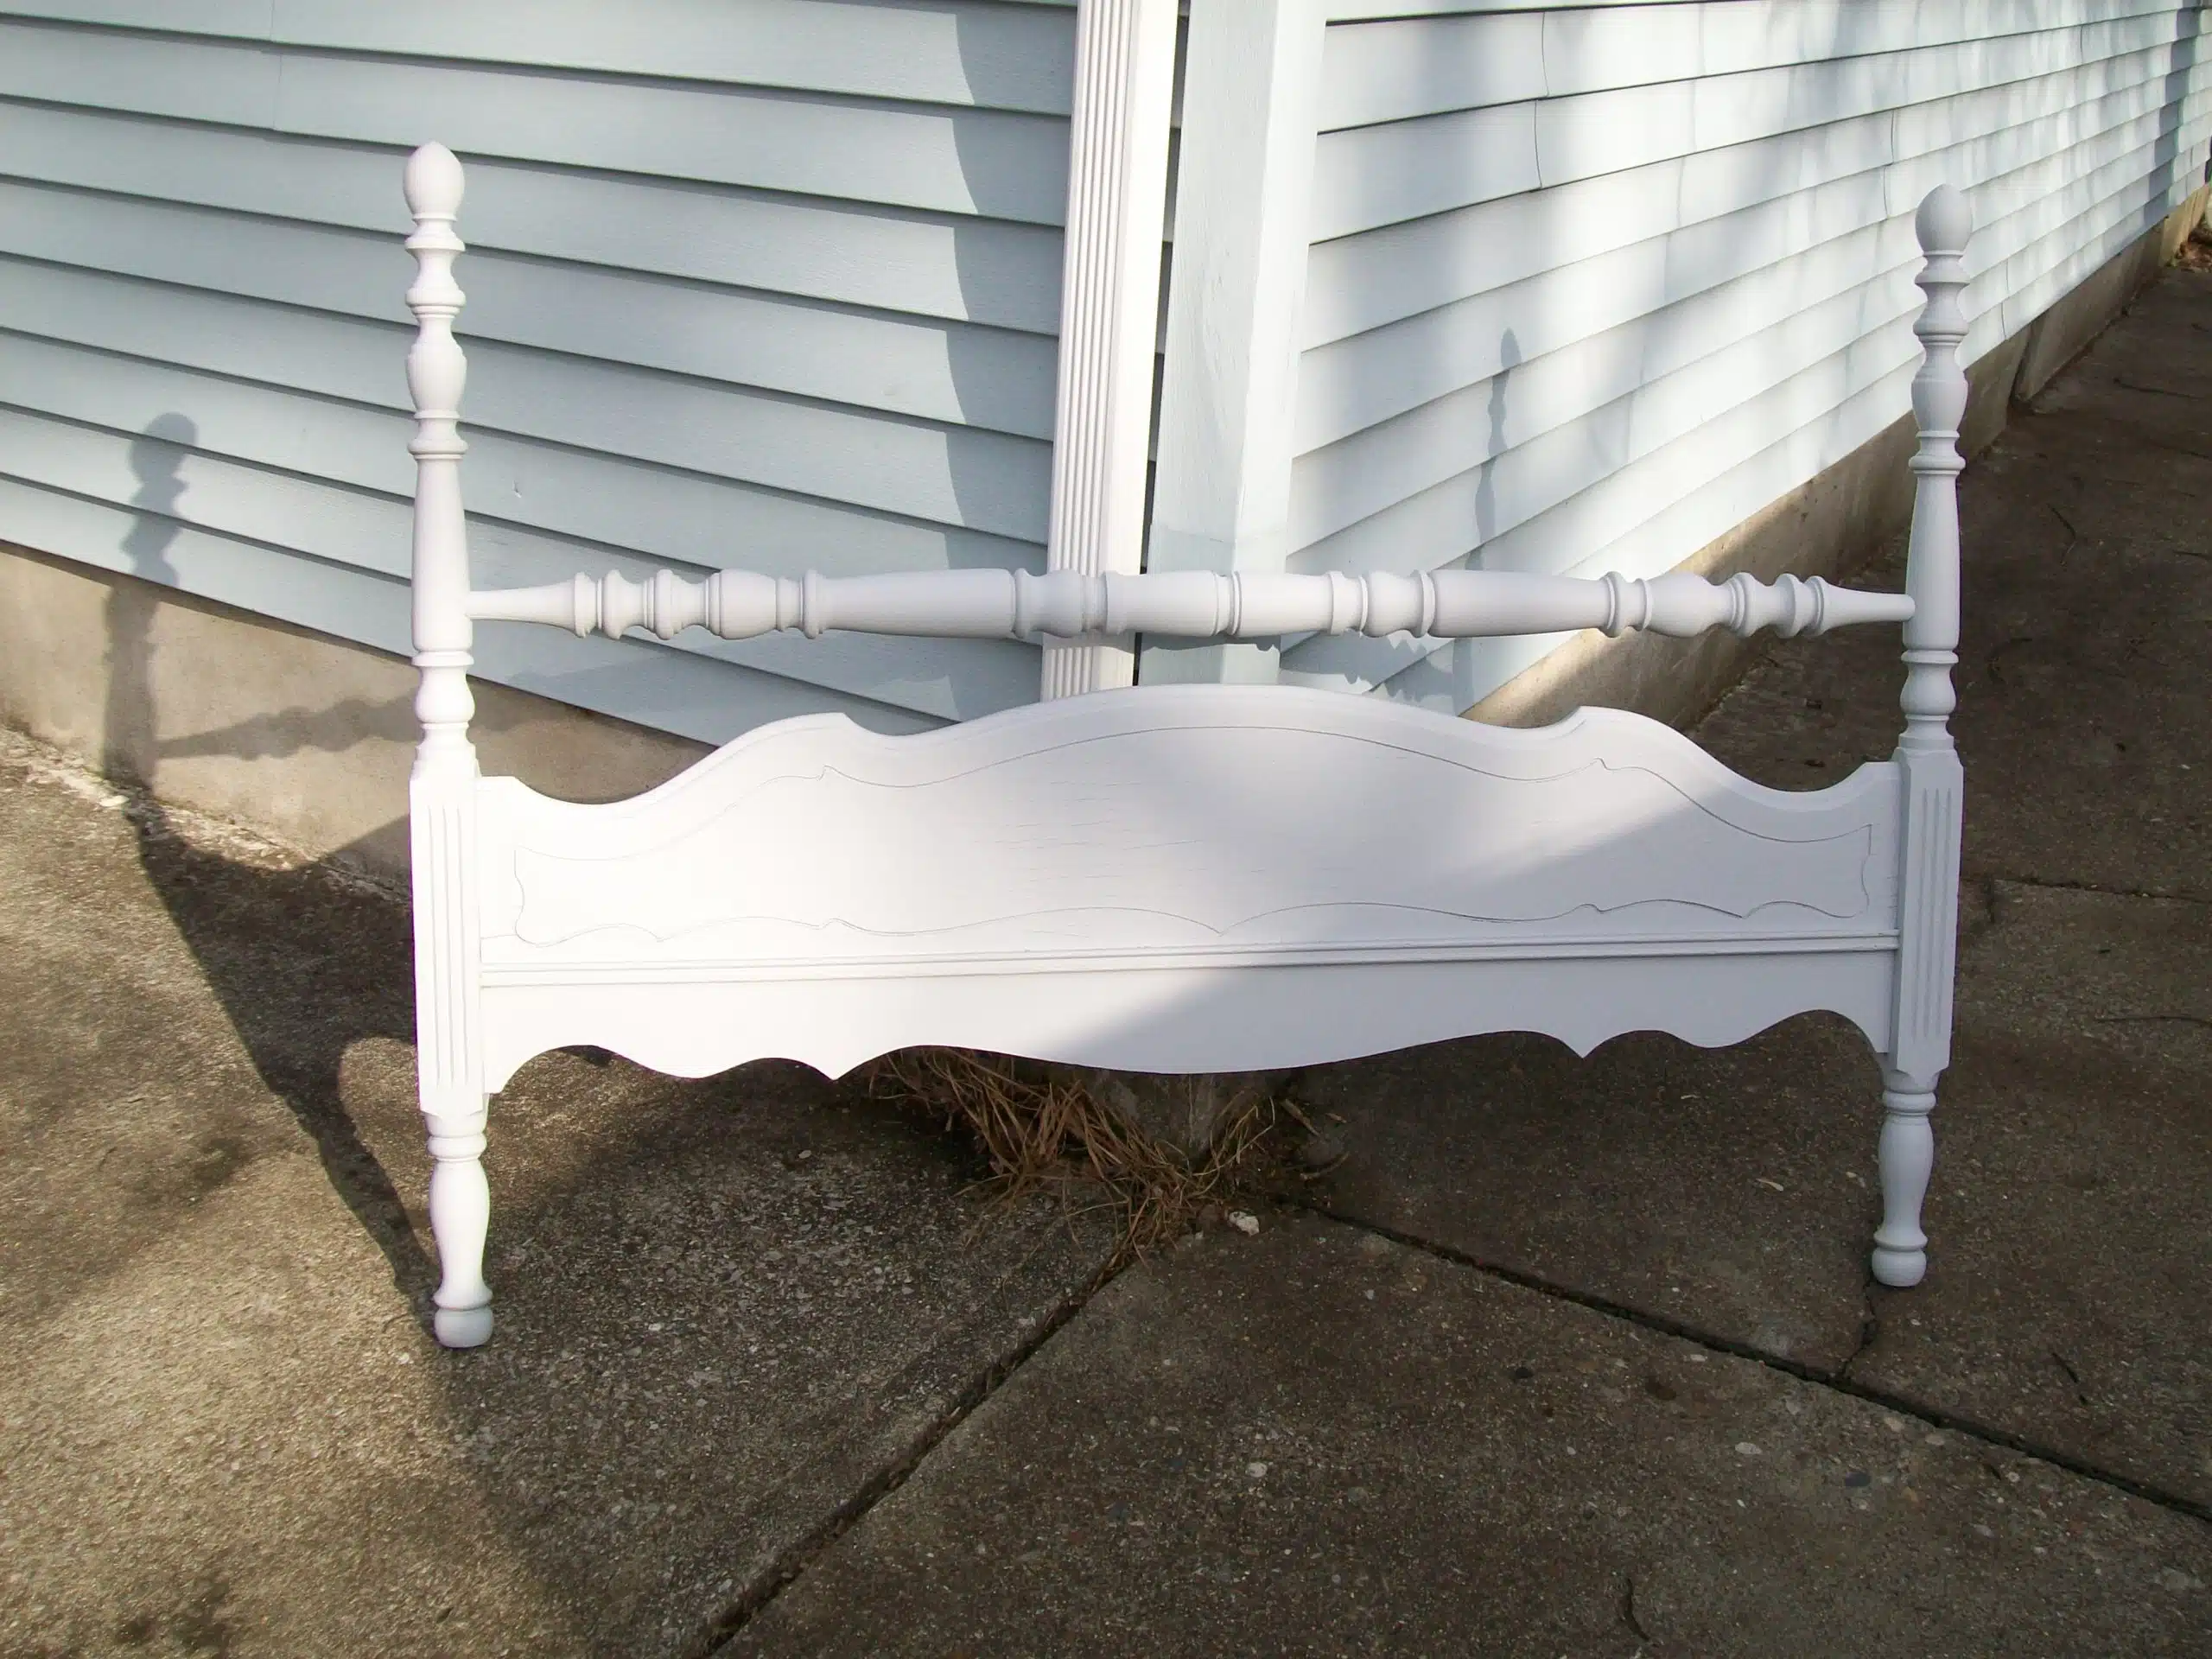
It was warm enough for me to paint outdoors. This is after I sprayed some gray primer on the footboard. I have a new favorite sprayer![]() from Homeright.
from Homeright.
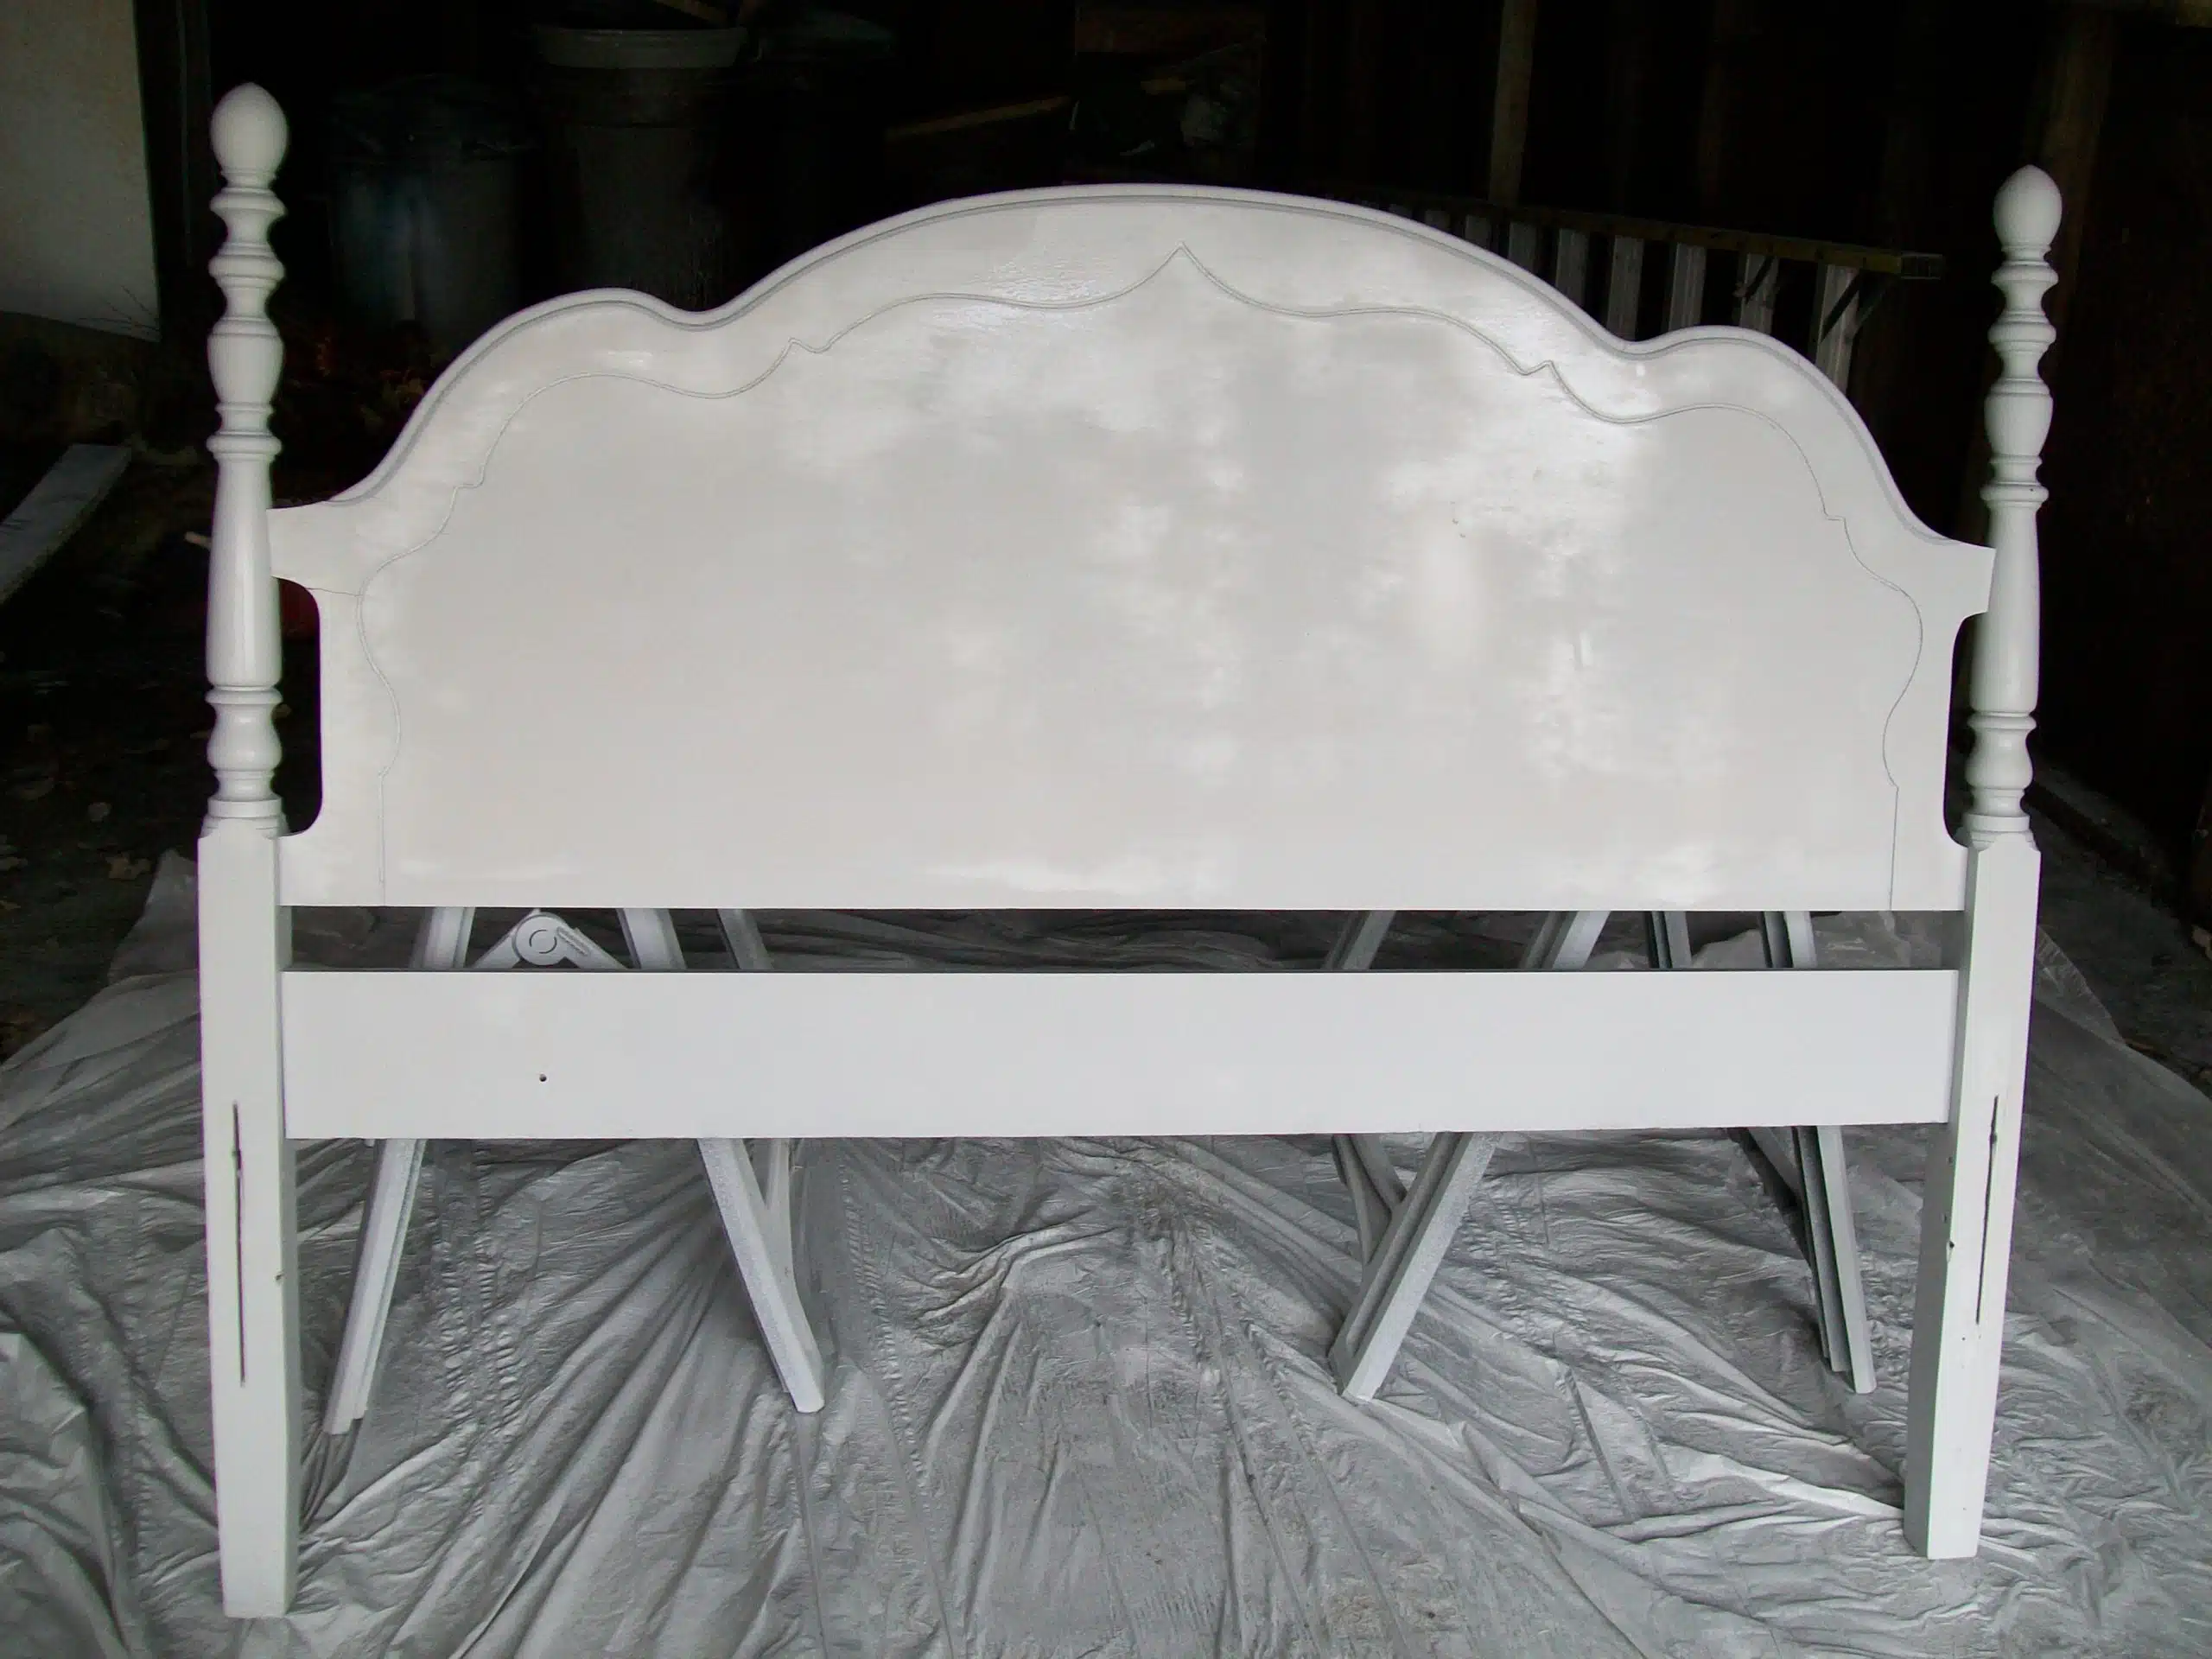
I didn’t have much time to work, so I mostly concentrated on the spindle parts of the bed, because they are so hard to paint by hand.
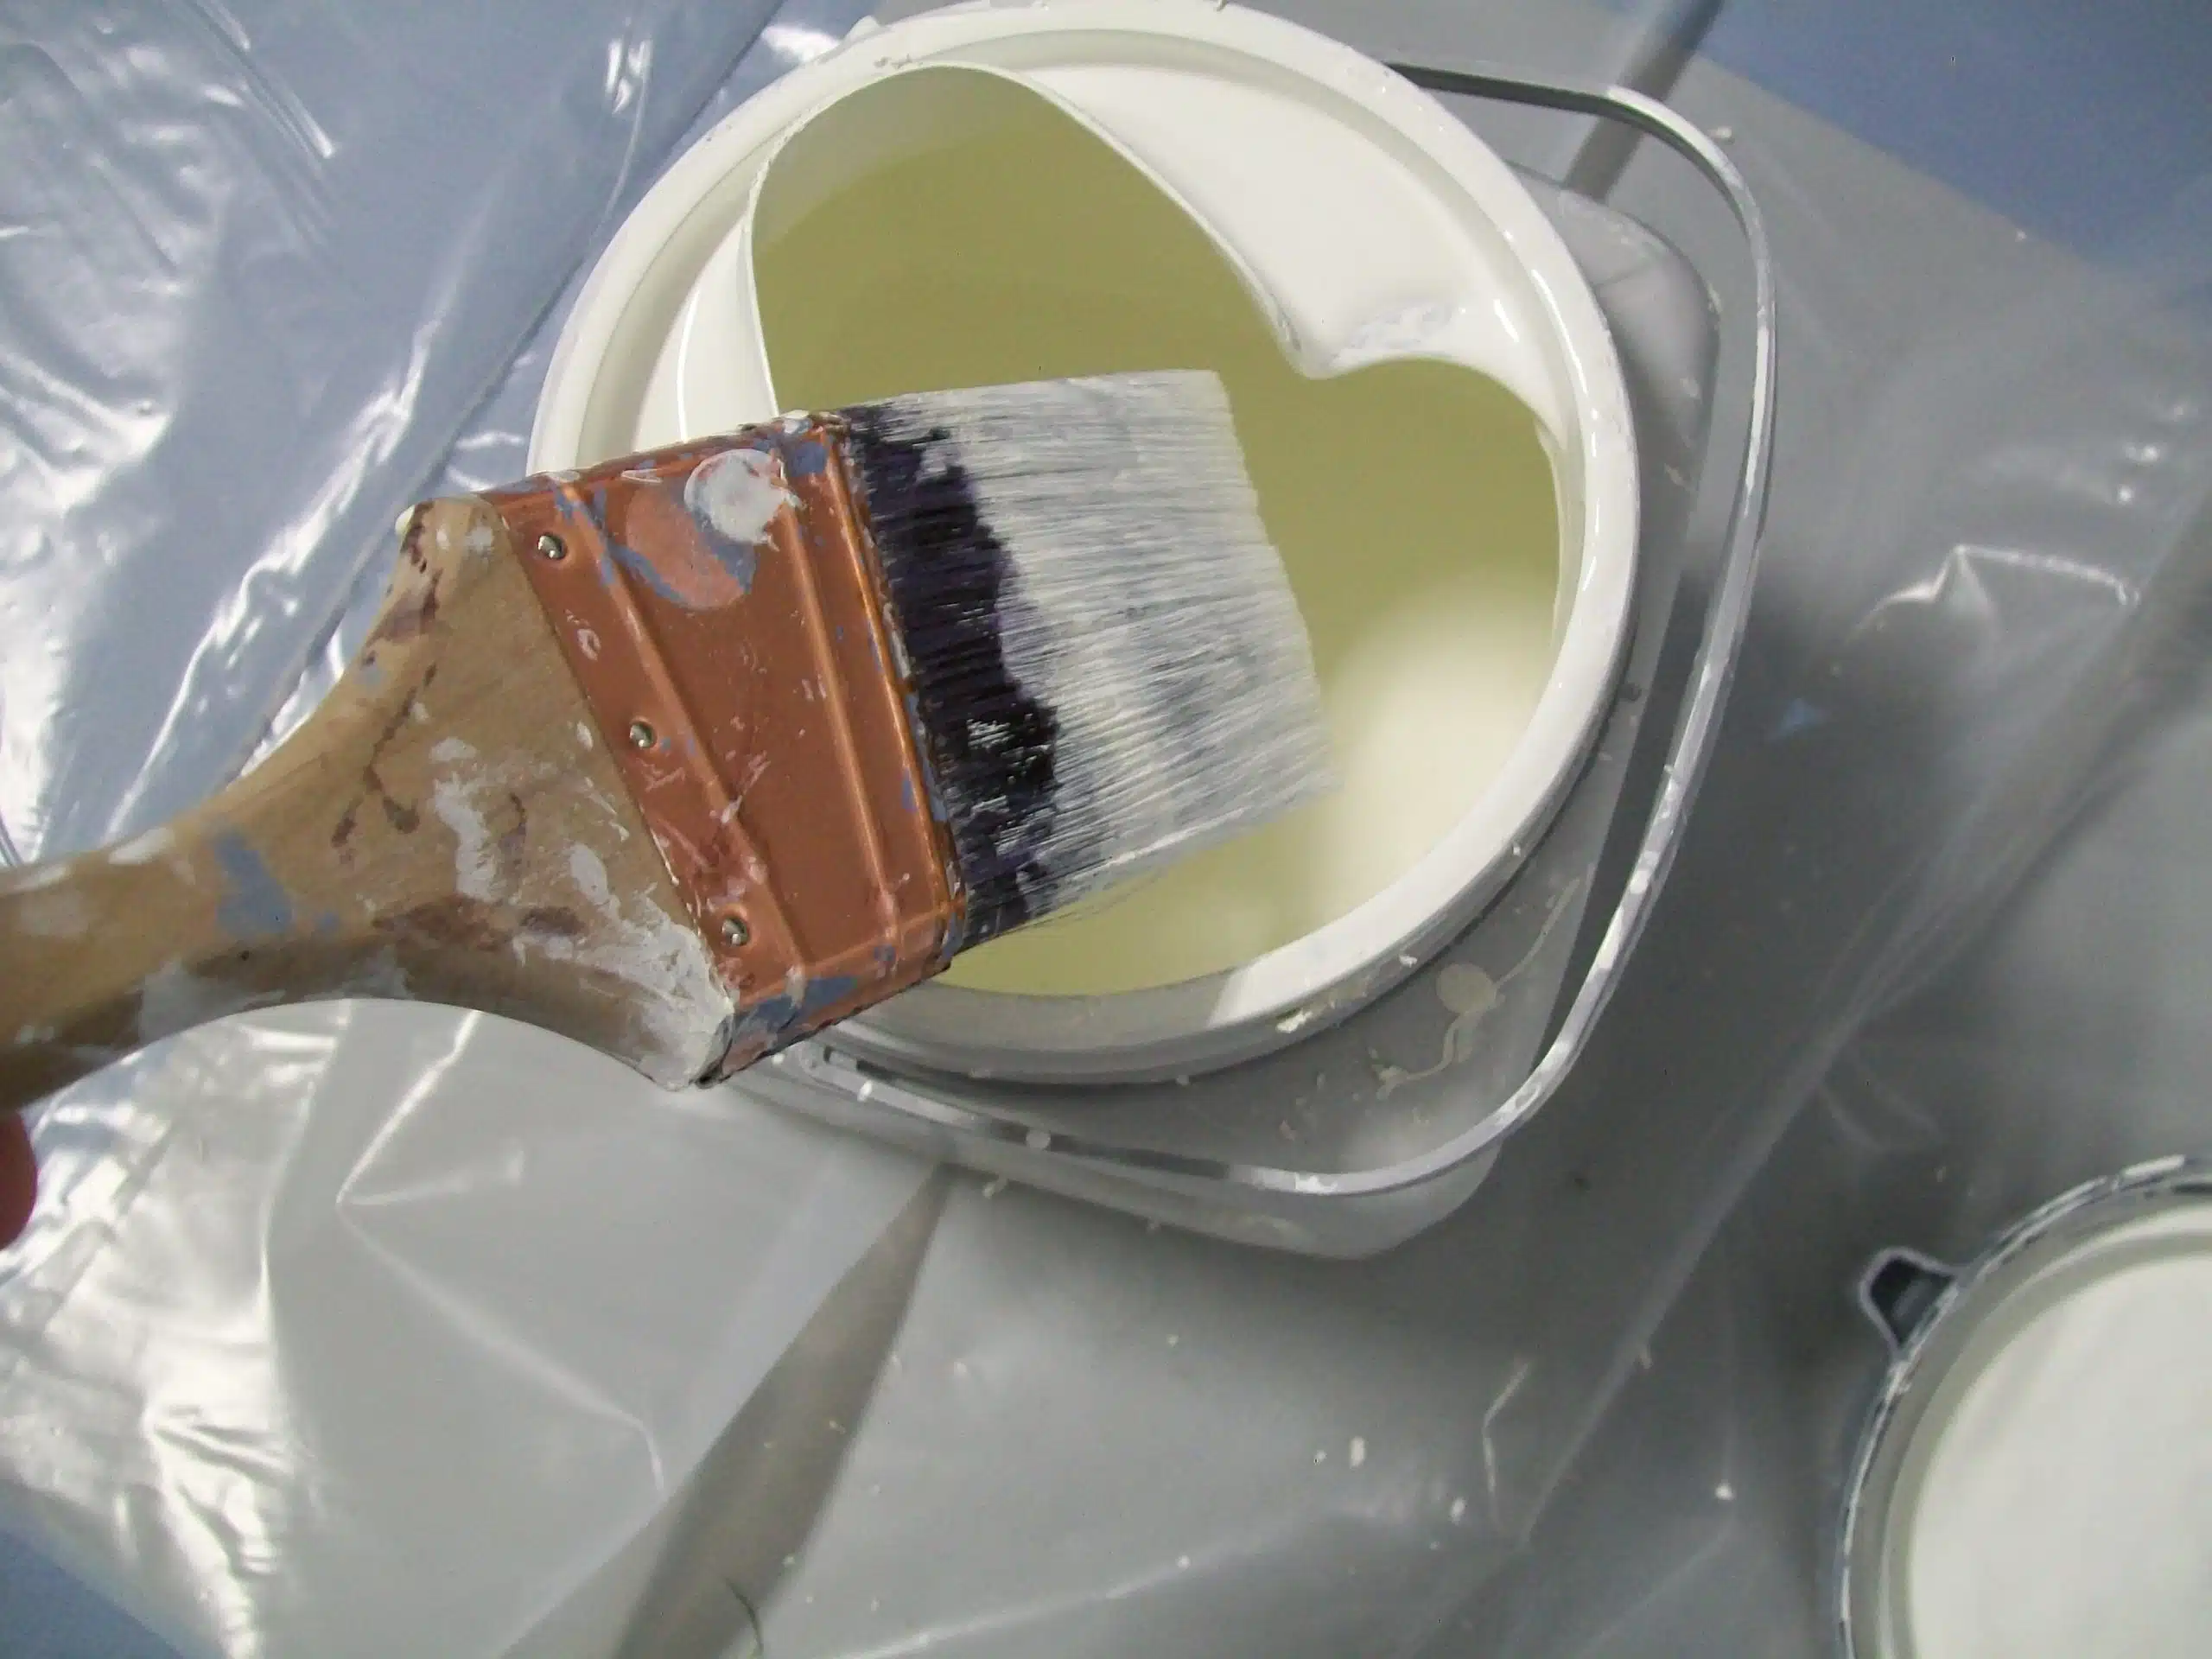
The weather turned cold again, and I was painting by hand indoors with a fabulous Purdy paint brush! If you’ve never used one, you really should try it.

Here I am painting in my kitchen! The bed is mostly finished. Jimmy is having a hard time finding side rails. I think he’s going to try using a regular metal bed frame. His aunt gail has had side rails, but has repurposed them into other items.
gail
If you're not using the headboard for the bed, you will love these ideas on how to repurpose headboards.
Gail Wilson is the author and mastermind behind My Repurposed Life. She is obsessed with finding potential in unexpected places and believes that with a little hard work and imagination, any old thing can be made useful again, including herself!
Gail reinvented herself during a midlife crisis and has found purpose again. She hopes you will find new ideas for old things and pick up a few tools along the way.
linda kusmaul
Another way to get the glue into smaller places is to use a straw and blew it into the crevices. It works wonders so you dont have to pull back the veneer.
Kristen
What did you use to fill in the cracks?
Brenda
thanks for the tutorial and the pics..it looks great! I have my old childhood walnut dresser with some damage to a few drawers.I am going to use your method to repair and paint it!
zinny
Thank you so much for responding and so quickly.I think I'll practice on some end tables first before tackling the bed 🙁
Hopefully, I'll have some good pix to update you with soon.
I'll also send a note so you have my email address.
Thank you for sharing.
zinny
Hello Gail, Your work is wonderful. I've found a new blog to watch. I stumbled upon your blog via google because I am thinking of re-doing my bed (headboard, footboard and sides). I am a new DIYr and this will be the largest project I am embarking on. Can you tell me a few things, did you sand by hand or with an electric sander and did you use a paint the whole bed by hand?I am hoping to surprise my DH with a mini-makeover when he returns in a week. Thanks.
Katy
This is a wonderful helpful post. I just bought an old buffet off Craigslist, and the veneer on top is wavy..I'm not sure how to fix it though since I have no way to clamp it.. Maybe I could stack something really heavy on top?
The bed looks gorgeous, and I love your blog! happy to find you!
Kim @ Second Time Furniture
What a sweet auntie you are! Thanks for the great tips! 🙂
Gloria (The Little Red House with the White Porch)
Holy cow! You took a beautiful antique which looked like piece of junk (which is what I would have said, seeing the separated wood) and you brought it back to life. Good for you!! Really, I am SO impressed. I am going to save this - who knows when I might need to to do this one day!!!! Thanks for sharing.
Best,
Gloria
Denise
Wow. You have taken the fear out of veneer! The next time I see a slightly damaged veneer piece, I won't be so reluctant to try to fix her up! If you have time, I would love for you to link this post (or any of your other ones) to my blog party at http://firstadream.blogspot.com/
Becky@Beyond The Picket Fence
What a great tutorial and so worth repairing! Thanks for sharing at Beyond the Picket Fence.
Tammy
Great post! Can't wait to see the finished project.
Tracy
Wow, that is impressive how the veneer flatten out!
Anita @ GoingALittleCoastal
Great repair job Gail! Great tips to get nice even pressure on the veneer. It looks great all painted too. I hope the side rails gets figured out!
Homemade Quilts by Granny
Marvelous job you have done...I hope nephew is paying you good to do all this work...cause I personaly would not have under taken this for anyone but myself and maybe not even for myself. Blessing Trish
Nana's Fun Stuff
You definitely worked your magic on that! It looks great 🙂
Pam
Lovely job Gail. Bet your nephew is loving it.
Dawn
I agree with everyone else that just kept thinking the entire time "I would have left that thing at the curb and thought nothing can be done for it!!" Thank you for opening our eyes to more possibilities!
Granny
I'd be willing to bet that 90% of the people woldn't have attemped to repair that bed. I looks amazing. I've tired using Gorilla Glue with disastrous results. lol I always use too much. I love the painters tape. In fact, Grampy just bought a new roll to use when we paint our two bathrooms.
Cassie @ Primitive & Proper
boy do i wish we lived closer. this is the kind of work i hate doing, but needs to be done. ick. you are so good at it!
Cassie @ Primitive & Proper
boy do i wish we lived closer. this is the kind of work i hate doing, but needs to be done. ick. you are so good at it!
Suzanne@Meridian Road
Wow! It looks like a new bed.
Using the tape was a great idea.
I think I'm going to have to bring things into the kitchen. It's still so cold I can't even work in the garage.
MMB Creations
I am so anxious to use your idea with the blue tape on the boards. That is genius.
Journey
Fantastic job! You are amazing. I have a lovely headboard with cracks in it - any suggestions? I've used filler but it still shows.
" SHABBY JUNK"
Looks great!. Thought I was the only one with furniture to paint in my kitchen. judy
Megandvd@Beauty in the Attempt
You can work magic on a piece! And you also make me want a purdy brush so bad. I use to have one but I loaned it and it came back to me in not the best condition. They are so worth it...as shown by the spindle work. Great job!
Cheers~
e
Rose @ Confessions of a Curbshopaholic
It's official. you ARE a miracle worker! I would not even have tried to restore that bed, and you made it come out beautiful! Love the clamping tips, have to remember that 'cause I don't have nearly the number of clamps you do! 😉
Midwest Cottage and Finds!
Once again--another great job! Love the fact that you are like me--hurry and paint outside while you can!!! Can't wait till Spring!
Cindy @ LeChaiseParfait
Great job, I pass up so many veneer disasters. This looks great.
Semalee
Wow! I would have left that at the curb! Thank you for inspiring us to take on the task 🙂
Semalee @ Nailing Jello to a Tree
Proper Prim
Oh Gail that is looking so good... looks brand new again... great job.
Got to love that Gorilla Glue, I got some from Santa but haven't tried it yet.
Have a great day... hopefully you get some nicer weather than we have... it was a white knuckle drive to work this morning... and it is going to be another one going home. I wish Mother Nature would stop PMSing... lol
Hugs, Deb