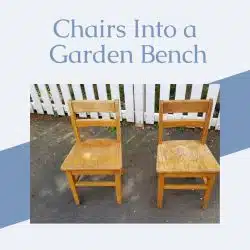
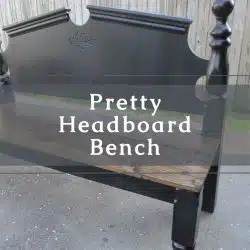
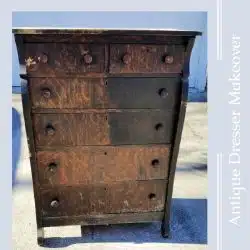
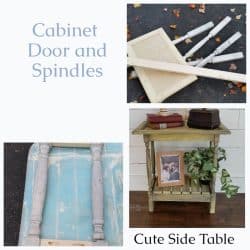
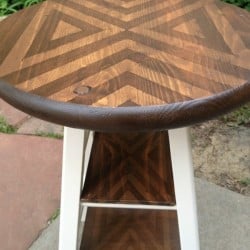
Furniture Makeover
Do you love a good furniture makeover? Are you looking for an easy way out with a paintbrush?
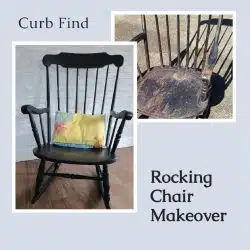
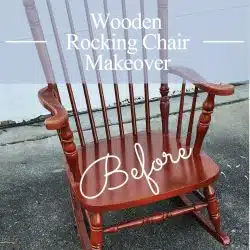
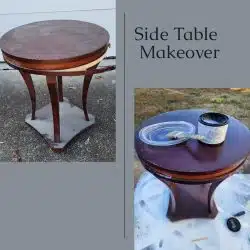
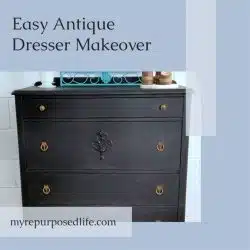
See more furniture makeover projects
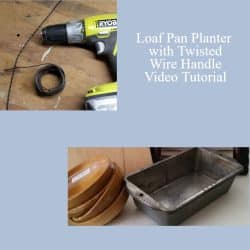
DIY Projects
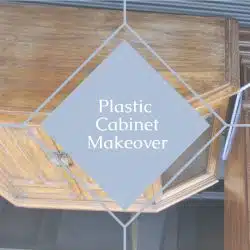
Do it Yourself is definitely a sign of the times. We’re all choosing to do it ourselves these days. Popular DIY projects such as painting kitchen cabinets, laying laminate flooring, and adding new baseboards are easy to do when you follow the proper procedure.
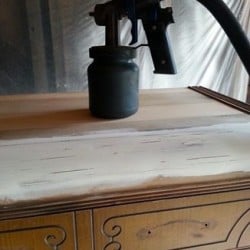
- waterfall dresser (chest of drawers)
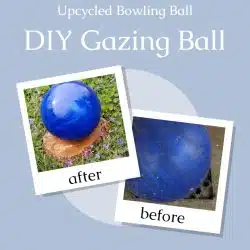
- DIY Gazing Ball out of a Bowling Ball
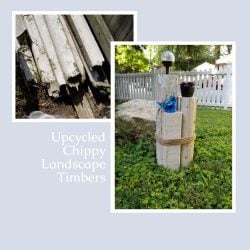
- Easy Reclaimed Landscape Timber Solar Light
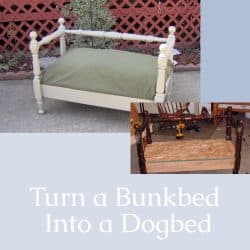
- DIY Coat Rack Repurposed Bunk Bed
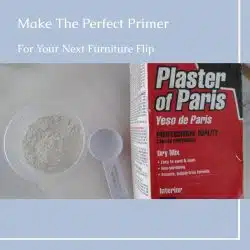
- Chalk Paint Recipe | Why You Should Use This One
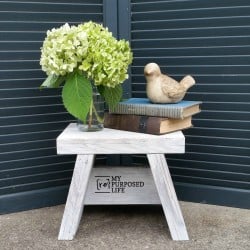
- Small Step Stool | Easy One Board Project
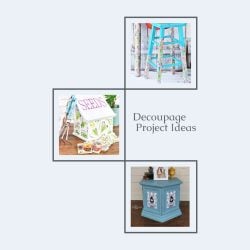
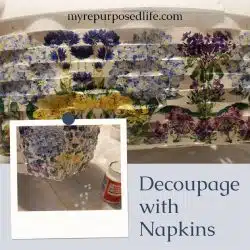
- Simple Decoupage Watering Can Project
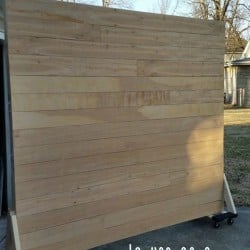
- Photography Backdrops and Floors


See more DIY projects
Trending Projects
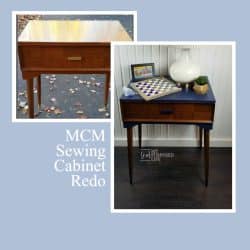
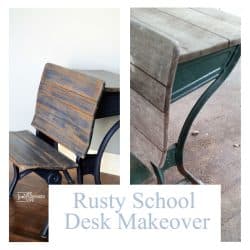
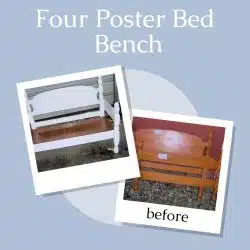
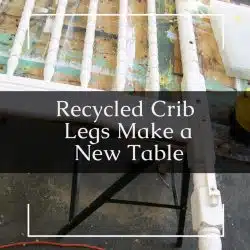
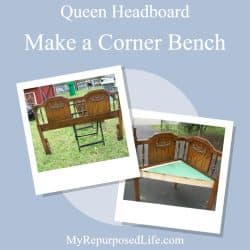
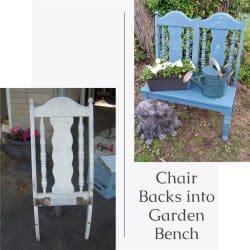
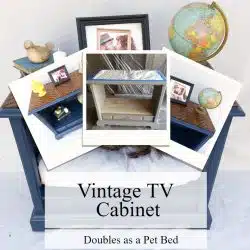
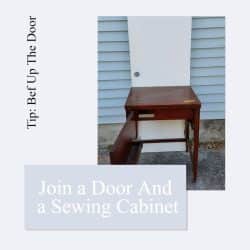
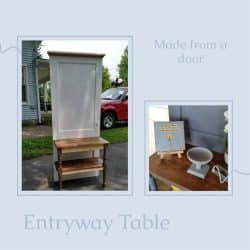
Repurposed Furniture Projects
My Repurposed Life is the place to find Repurposed Furniture and other household items. Whether it's a repurposed Dresser, Desk, or Nightstand, there's something to inspire everyone.
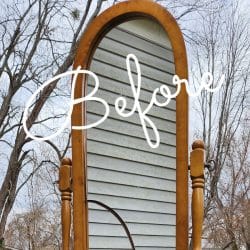
See more Repurposed Furniture ideas here
Easy Projects
Although I do enjoy sawing furniture and repurposing it, sometimes I just need an easy project to feed my creativity. I hope you find something here that is just what you were looking for.
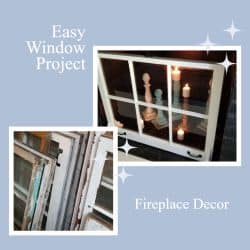
See More Easy Project Ideas Here
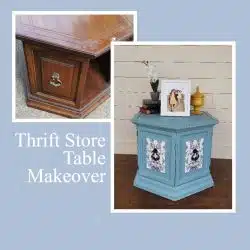
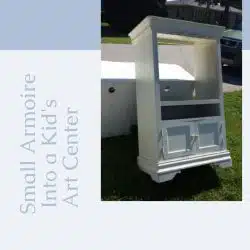
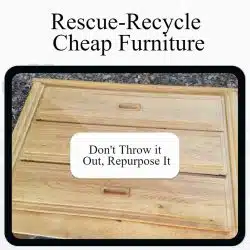
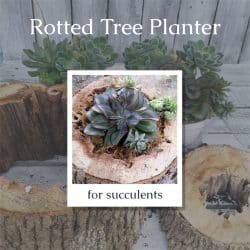
Repurposed Furniture
My Repurposed Life is where to find Repurposed Furniture and other household items. Whether it’s a repurposed Dresser, Desk, or Nightstand, there’s something to inspire everyone.
See more repurposed furniture

About Gail
Hi, there! I’m Gail Wilson, the author and mastermind behind My Repurposed Life. I’m obsessed with finding potential in unexpected places and believe that with a little hard work and imagination, any old thing can be made useful again—myself included! I hope you’ll enjoy the journey and pick up a few tools along the way… literally
Craft Projects
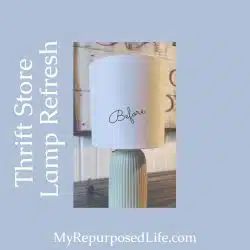
Small thrift store household repurposes are My Repurposed Life's most popular craft projects. Rarely does anything keep the same purpose. What craft project will you recreate?
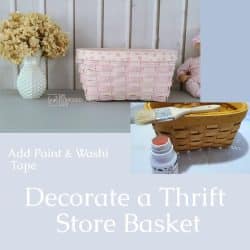

See more Craft Projects